END-GRAIN GUIDES
Over the Sink End Grain Cutting Board: How to Choose the Right Fit
Choose an over the sink end grain cutting board by measuring your sink, checking supports, and planning for care.
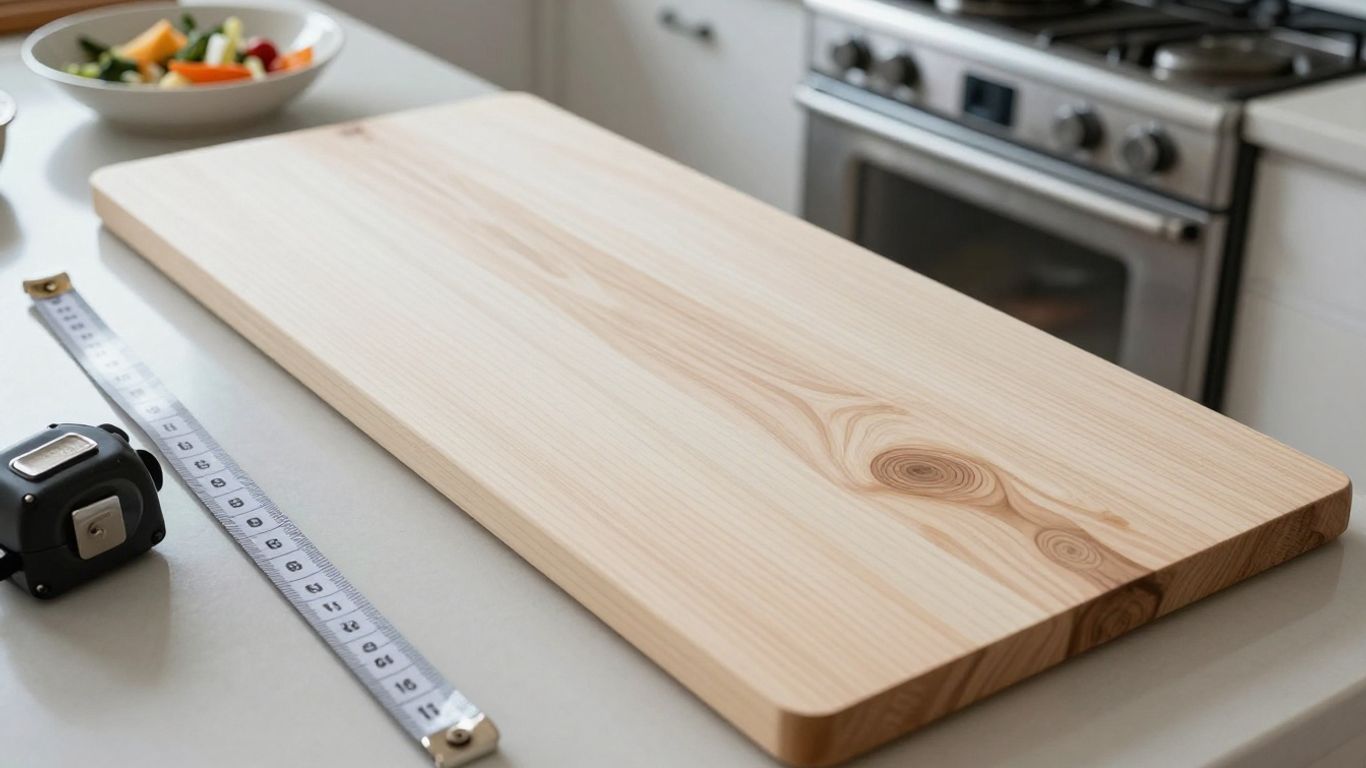
The short answer
An over-the-sink end grain cutting board can add prep space, but only if its supports fit your sink securely and leave enough room to lift it away. Measure the sink and faucet first, then weigh the convenience against the board’s weight and care needs.
- Measure the sink where the board will rest, not just the basin opening.
- Check faucet clearance, sink rims, and room to lift the board safely.
- Choose supports that sit steadily without blocking more sink access than you need.
- Keep raw meat prep separate from produce and ready-to-eat foods.
- Wash, dry, and condition a wood board regularly, and store it with airflow.
How does an over-the-sink setup work?
An over-the-sink board rests on the sink’s rim, counter ledges, or fitted supports to create a work surface above the basin. It can free up a little counter space, but it is only useful if it stays stable and can be removed without a wrestling match.
How the board spans the sink
The board needs to bridge the sink opening at two secure contact points. Depending on the design, those points may be the board’s own ledges or separate rails; either way, the supports should sit flat and leave the board level.
Where scraps and rinse water go
A board above a sink gives you somewhere to direct scraps, but it does not make the basin a tidy waste chute. Keep a bowl nearby for peelings, and wipe up liquid rather than letting it run into the sink or collect under the board.
What end-grain construction adds
End grain is made from wood blocks with their cut ends facing up, creating a checkerboard surface. It has a different feel under a knife than edge grain; for a closer look at the distinction, see this guide to end-grain and edge-grain maple boards.
When a sink-covering board saves counter space
The arrangement makes most sense when counter space is scarce and the sink is not needed during prep. A small-kitchen maple board size guide can help you compare a sink-spanning work area with a compact board that stays on the counter.
What should you measure before buying?
Measure the places where the board will actually rest, then check the space around them. Sink dimensions listed on a product page may describe the basin rather than the full rim, and those are not interchangeable measurements.
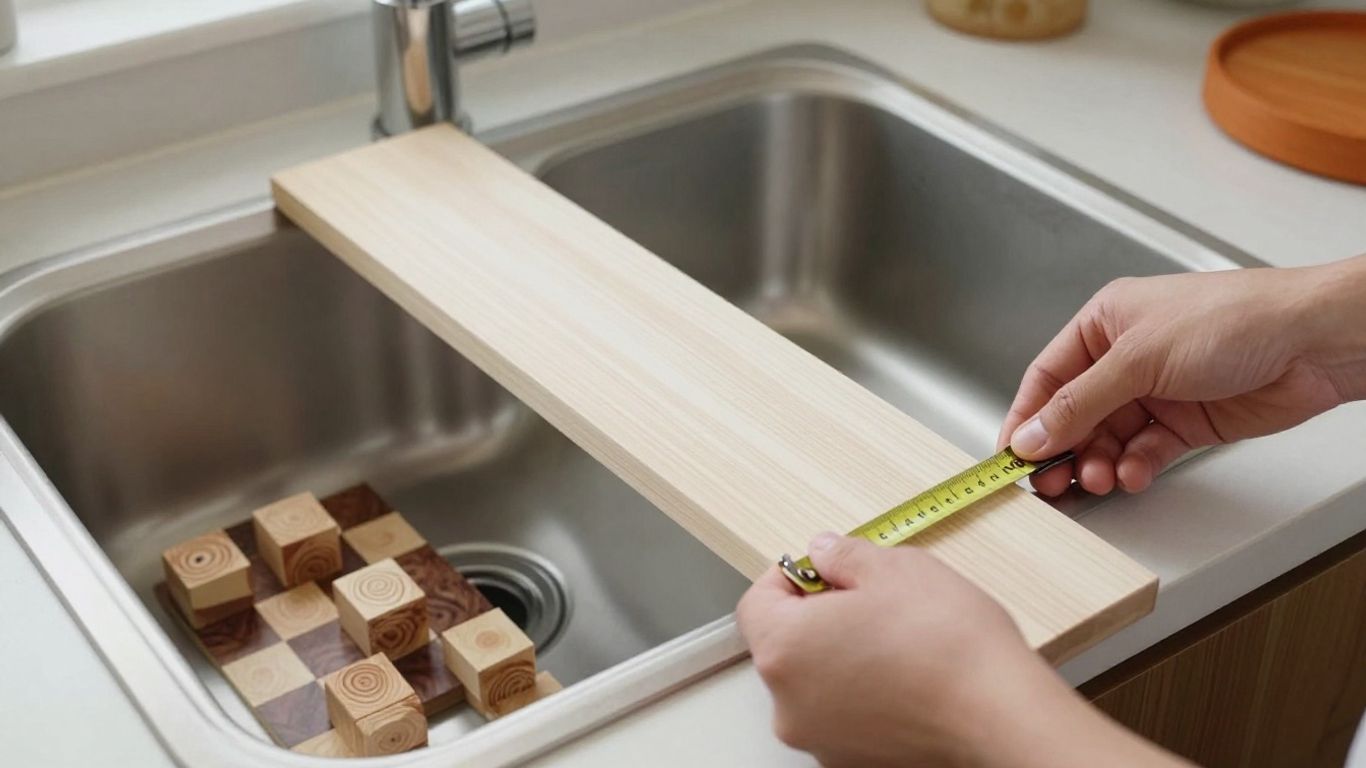
Measure the opening at the board’s contact points
Take the width across the sink where the board’s supports will land, and measure the span between those points. Record the usable flat area on both sides, too. A tape measure and a quick sketch can save you from buying a board that teeters on a rounded rim.
Check the counter ledge and faucet clearance
A tall faucet, soap dispenser, or backsplash can interfere with setting the board down or lifting it away. Before choosing a size, check the distance from the sink rim to nearby fixtures, including the room needed to raise the board at an angle.
Account for handles, lips, and other overhangs
Small projections change the fit. Write down the dimensions that matter before you shop:
- The sink opening between the planned support points.
- The flat width available for each resting ledge.
- Any rim, handle, or counter lip that could obstruct placement.
- The height and reach of the faucet and nearby fittings.
Use those measurements to compare the board’s support span with your sink, rather than relying on its overall length alone. If a product does not list the support dimensions, ask before assuming it will fit.
Leave room to lift the board off safely
You need a clear grip and a place to set the board once it comes off the sink. That matters even more if it is thick or heavy. Check whether you can lift it without catching it on the faucet or tipping scraps into the basin.
Which size and support style should you choose?
Choose the smallest board that gives you enough room for your usual prep and rests securely across the sink. A larger surface can be useful, but it also covers more of the basin and may be harder to lift when wet or loaded.
Balance cutting area with sink access
Think about the ingredients you prep together, not just the largest item you might cut once a year. A board that leaves part of the sink reachable can make rinsing easier; one that covers the full opening may give you more work area but less access. The small-kitchen sink and counter guide for maple boards explores that trade-off.
Compare resting ledges, rails, and removable supports
Support styles differ in how they meet the sink, so compare them by fit and ease of removal. A simple comparison helps identify what to check before purchase.
| Support style | What to check | Practical trade-off |
|---|---|---|
| Built-in ledges | Width and flat contact area | Fewer separate parts, but fixed to the board’s dimensions |
| Removable rails | Fit, attachment, and storage | Adjustable in some designs, but extra pieces need a home |
| Flat board on rim | Rim shape and board stability | Simple setup, but rounded or uneven rims can be troublesome |
Choose the style that sits evenly on your particular sink. A board’s overall dimensions alone do not confirm that its supports match the rim.
Check for rocking on uneven sink rims
Set the board in place and press gently at each corner before chopping. If one side lifts or the board shifts, do not try to compensate with a loose object under a support; find a more secure arrangement. A steady surface comes first when a knife is in your hand.
Consider the board’s weight when loaded
A board gets more awkward to move when covered with chopped food, moisture, or a bowl. The Bevel & Bond End-Grain Maple Cutting Board is listed at 17 × 13 × 1.75 inches and about 10 pounds; those specifications describe that board, not an over-sink fit. Its weight is a reminder to consider how you will lift and set down any board you buy.
Which construction details and features matter?
For a sink-covering board, construction and fit matter more than decorative extras. Look for sound joinery, a finish intended for food-contact use, and features that make routine prep and cleanup easier rather than more awkward.
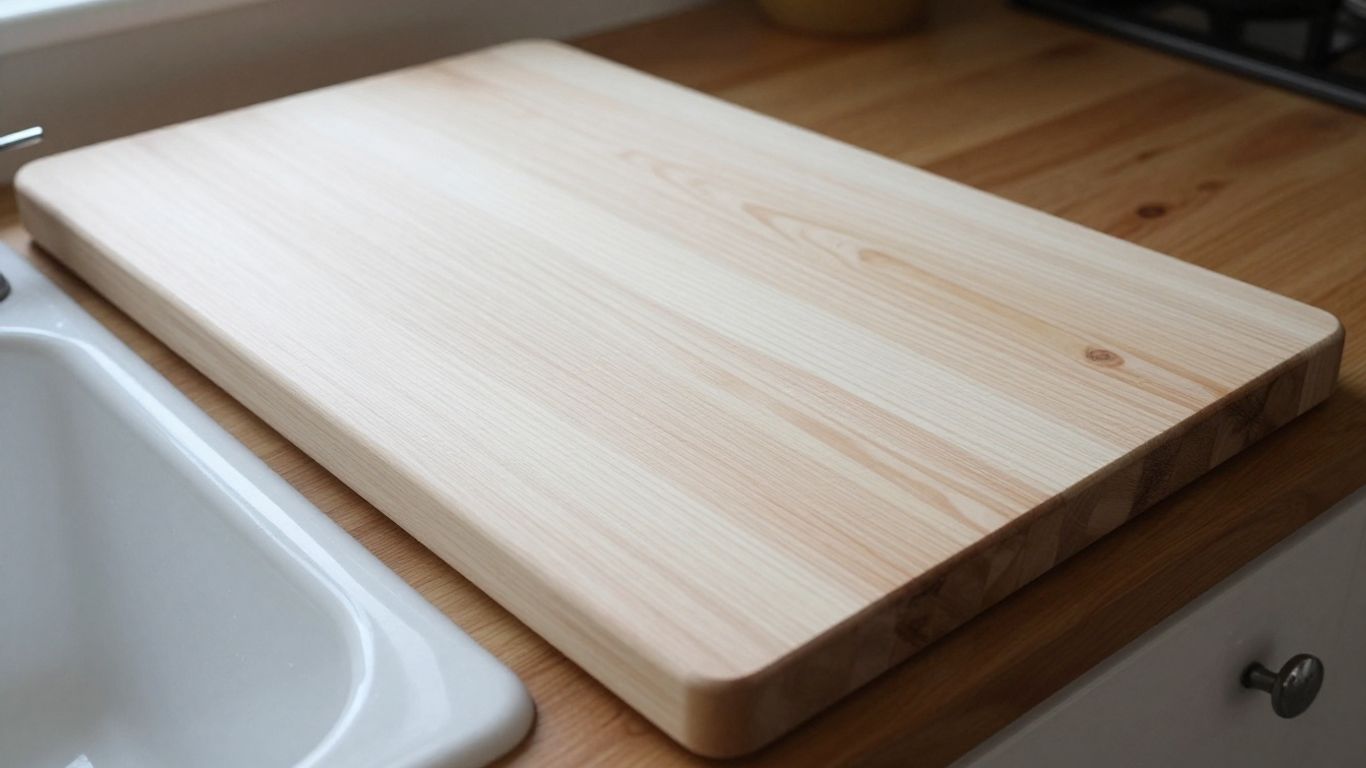
Look for durable, food-safe wood and joinery
Check that the maker identifies the wood and explains how the board is assembled and finished. The Bevel & Bond End-Grain Maple Cutting Board is made from North American hard maple; that product detail does not establish whether a board will fit your sink, so assess the support measurements separately.
Decide whether a juice groove helps your prep
A groove can catch some liquid from cut fruit or meat, but it also reduces the flat area available for chopping. If you often cut juicy ingredients, compare groove depth and location with the usable work surface. For dry vegetable prep, a groove may add little.
Check for grips or handles that make lifting easier
Finger grips can help you raise a board from a counter, while handles may add leverage but also affect its overall dimensions. On a sink-spanning board, make sure any grip is accessible once the board is in position and does not create a collision with the faucet or backsplash.
Weigh work-surface thickness against portability
A thicker board can feel substantial, but it adds weight and requires more clearance when lifting. The Bevel & Bond End-Grain Maple Cutting Board, for example, is 1.75 inches thick and about 10 pounds. Treat those as product specifications, then decide whether a board of comparable heft suits your own sink and lifting routine.
How do you use the board safely?
Use a sink-covering board only after checking that it is stable and dry underneath. Keep your prep orderly, and move the board before turning on the faucet or filling the basin.
Keep the board stable before chopping
Place the supports fully on their resting surfaces and check that the board does not rock or slide. If your sink rim is wet, dry it before setting the board down. Never assume a board is secure just because it appears to bridge the opening.
Separate raw meat prep from produce and ready-to-eat foods
Keep raw meat and its juices away from foods you will eat without further cooking. USDA food-safety guidance recommends separating raw meat, poultry, seafood, and eggs from other foods; wash your hands and clean the board and work area between tasks.
Avoid letting scraps or juices fall into the sink
A bowl beside the board keeps scraps contained, and a separate plate can hold prepped ingredients. If liquid reaches the sink rim or the board’s underside, pause and wipe it away so the supports remain dry and the next task starts on a clean surface.
Move the board before filling or using the sink
A board over the basin blocks access to the faucet and drain, so remove it before rinsing produce or washing dishes. Set it on a clear, dry counter rather than balancing it against the sink edge. For a visual overview of measuring and setting up a sink-covering board, use this video search prompt.
How do you protect the board from water and wear?
Wood needs routine care, especially when it sits above a sink where splashes and trapped moisture are easy to miss. Wash it promptly, dry both sides, and give it time to air out before storage.
Dry the underside after each use
Moisture can linger where the board meets the sink, even if the top looks dry. Wipe the underside and supports, then stand the board upright until the surfaces are dry. This simple habit helps limit prolonged exposure to water.
Wash by hand and avoid soaking
Use mild soap and warm water, and clean the board by hand. Do not leave it soaking in the basin or put it in a dishwasher. Rinse away soap and dry it promptly instead of letting water sit around the edges.
Apply food-safe oil or conditioner as needed
When the wood looks dry, apply food-grade mineral oil or a conditioner made for cutting boards. Board Balm is a mineral oil and beeswax conditioner; use it according to its care directions. Avoid olive or vegetable oil, which are not recommended for board maintenance.
Store the board where air can circulate
Store the board upright or on edge in a dry spot, with air reaching both faces. Avoid putting it away wet or wedging it tightly between damp items. A little breathing room makes it easier to spot lingering moisture before the next prep session.
Does this style suit your kitchen?
An over-the-sink board is a useful space-saving tool when its fit is secure and you can lift it comfortably. It is less appealing if you need the sink throughout prep or if your rim gives the supports nowhere level to rest.
Choose it when counter space is limited
If counter space is tight, covering part of the sink can create a temporary prep station. Look for a board that leaves enough access for the tasks you do most, and put a bowl nearby for scraps. The convenience depends on your routine, not just the square inches gained.
Consider a separate board for heavy or frequent prep
If you chop often or handle heavy ingredients, a dedicated board on a stable counter may be easier to use and clean. You can still keep a lighter board for quick tasks over the sink, rather than asking one piece of wood to do every job.
Check whether the sink shape supports a secure fit
A broad, flat rim gives supports more predictable contact than a narrow, rounded edge. Compare the sink’s shape with the board’s support design, and avoid assuming that a board marketed for sinks will fit every sink. If the dimensions are unclear, get them confirmed first.
Compare convenience with the effort of lifting and cleaning it
The best choice is the one you will use without fuss. If you can place it, steady it, lift it, and dry it without awkward movements, the setup may earn its space. If any step feels precarious, a regular counter board is the calmer option.
Choosing an over-the-sink end-grain cutting board
An over-the-sink end grain cutting board can make a small kitchen feel more workable, but the fit has to come before the appeal of extra prep area. Measure the contact points, check clearance, and choose a board you can stabilize, lift, and care for comfortably.
Best for
- Fewer separate parts: built-in ledges, if the board’s dimensions match your sink.
- An adjustable fit: removable rails in some designs, if you have a place to store the extra pieces.
- The simplest setup: a flat board on the rim, for sinks with flat, even rims.
- Kitchens short on counter space: any secure over-the-sink setup, if you can lift the board away easily.
Frequently Asked Questions
Can any cutting board sit over a sink?
No. The board needs supports that rest securely on your sink or counter, and its span must match the available contact points. A flat board that happens to be wide enough may still rock or slide.
How do I measure for an over-the-sink cutting board?
Measure the distance between the points where its supports will rest, along with the usable ledge width on each side. Check the faucet, rim shape, and clearance needed to lift the board away.
Is end grain a good choice for an over-sink board?
It can be, if the board’s dimensions and support design suit your sink. End grain describes the wood’s orientation, not whether the board is safe or stable over a particular basin.
Should an over-sink board have a juice groove?
A groove may help contain some liquid from juicy ingredients, but it takes up flat cutting area. Choose one if that trade-off fits your prep habits.
Can I use a wood cutting board over a wet sink?
Dry the rim and the board’s contact points before setting it in place. After use, wipe the underside and let the board air-dry rather than storing it while damp.
How should I clean a wood cutting board?
Wash it by hand with mild soap and warm water, rinse, and dry it promptly. Do not soak it or put it in the dishwasher.
How often should I condition a wood cutting board?
Condition it when the wood looks dry, using food-grade mineral oil or a suitable cutting-board conditioner. Follow the product’s directions and avoid olive or vegetable oil.
What should you do next?
- Measure the sink opening, the rim, and the clearance under the faucet.
- Check how often you will need to lift the board off to use the sink.
- Compare the board’s listed weight with what you can lift comfortably. How to choose an arthritis-friendly end grain board covers weight in more detail.
- Dry the board fully after each use, since it sits close to water. The steps in the two-minute board reset help.