END-GRAIN GUIDES
3D end grain maple cutting board: How the pattern works and what to look for
See how a 3d end grain maple cutting board creates its optical illusion, and what to inspect before you choose one.
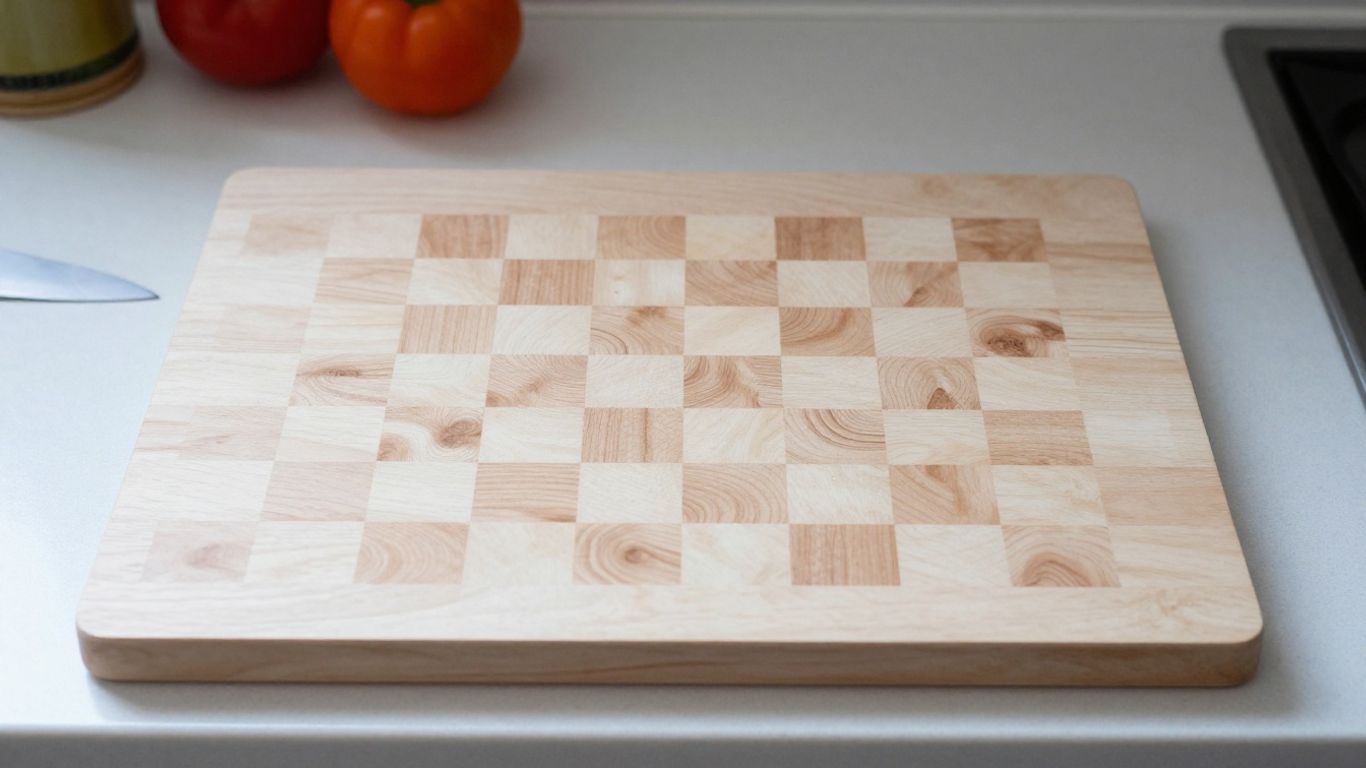
The short answer
A 3d end grain maple cutting board gets its raised-cube look from the arrangement and contrast of small blocks, not from a surface that is physically carved into steps. You can enjoy the illusion and still judge the board by its flatness, joints, finish, and usefulness at the counter.
- End-grain blocks repeat to create the pattern, while shifts in orientation suggest depth.
- Light, contrast, and viewing angle can strengthen or soften the 3D effect.
- Maple’s pale tone gives geometric layouts a quiet visual base.
- Tight joints, a flat surface, and a practical finish matter more than pattern complexity.
- Choose a size and weight you can comfortably use, clean, dry, and store.
What creates the 3D effect?
The 3D effect is an optical illusion made from flat, joined pieces of wood. Small end-grain blocks are arranged so their colors and grain directions read as faces of a shape, much like a drawing that uses highlights and shadows. The pattern can look intricate, but the board should still have a level working surface.
How end-grain blocks form a repeating pattern
In an end-grain board, the cut ends of the wood fibers face upward. To make a pattern, a woodworker assembles strips or blocks into a larger panel, then cuts and reassembles that panel so the block ends become the working surface. Repetition is what lets separate pieces read as a continuous design. For a closer look at the process, see how end-grain boards are made.
Why block orientation can make shapes appear raised
A cube illusion usually relies on three apparent faces meeting at a corner. Blocks with different grain orientation or tone are placed so each face seems to catch light differently, even though the board is flat. The grain direction is part of the drawing: its lines help your eye decide which face is in front. A neat, repeating layout makes that reading easier; a small alignment error can make a cube look bent instead.
How light, contrast, and viewing angle change the illusion
Strong side lighting may deepen the apparent shadows between blocks, while even overhead light can make the pattern seem flatter. Your viewing angle matters too. From directly above, you may see a tidy geometric grid; from a lower angle, the contrast between faces may appear stronger. The effect is visual, not a change in the board’s height, so check the surface with your hand as well as your eyes.
What are the common 3D pattern styles?
Most 3D designs use a small visual vocabulary: repeated cubes, diamonds, or chevrons. The best pattern is not necessarily the most complicated one. It is the one you can read at a glance without the design making the board feel busy when you are trying to prep dinner.
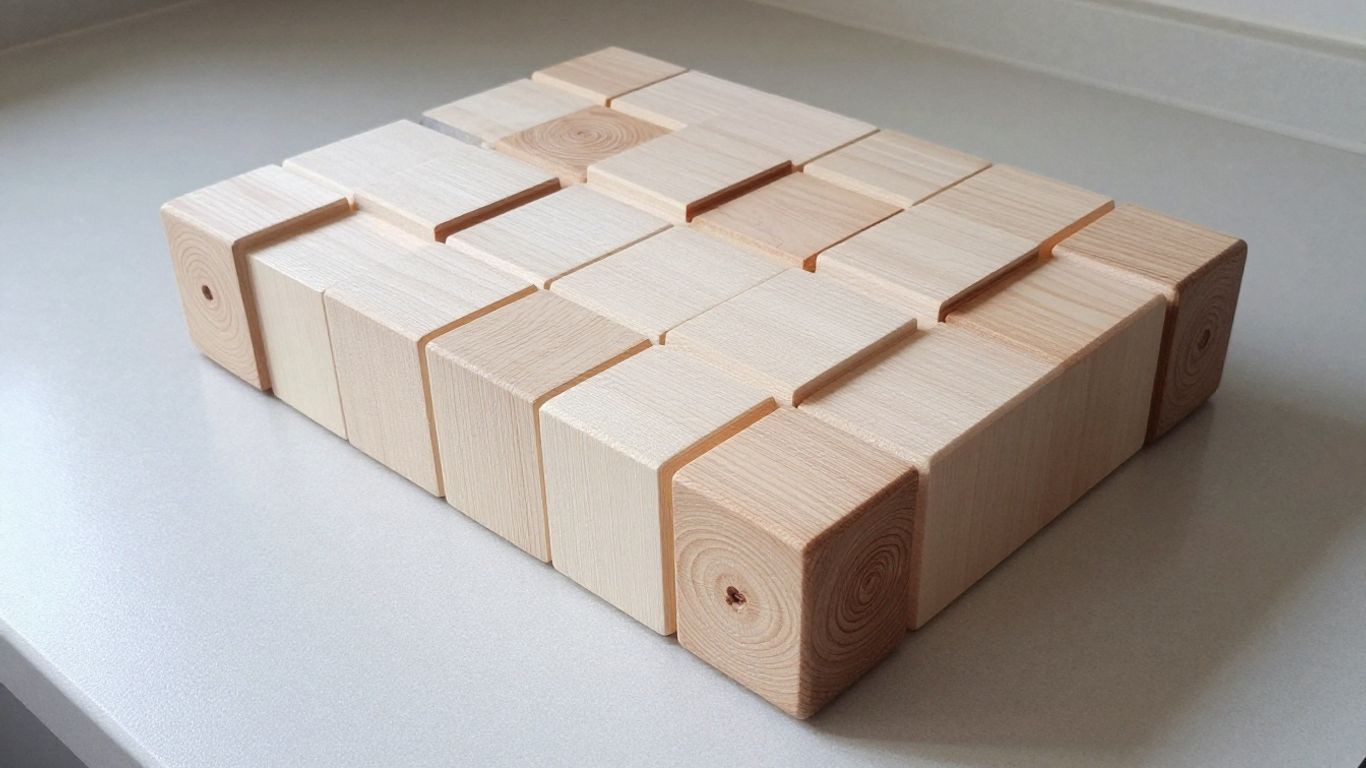
Cube patterns built from light and dark blocks
Cube layouts give each repeated unit three visual faces, often built from lighter and darker blocks. With maple-only designs, differences in tone can come from natural variation, grain orientation, and how the pieces reflect light. When comparing the basic pattern elements, a simple guide helps explain what your eye is reading:
| Pattern element | What you see | What to inspect |
|---|---|---|
| Light face | An apparent top or sunlit plane | Consistent tone across repeated blocks |
| Mid-tone face | A side plane that connects the shapes | Grain direction that supports the layout |
| Darker-looking face | An apparent shaded side | Contrast without harsh, distracting patches |
These are visual roles, not different physical levels. A carefully made board keeps those faces legible while the whole surface remains flat.
Chevron and diamond layouts
A chevron uses angled pieces to create a zigzag path, while a diamond layout repeats rotated squares or lozenges. Both can feel more directional than a cube pattern, which tends to pull your eye across the board in several directions at once. If you like the staggered rhythm of blocks, this brick-pattern end-grain guide explains a related layout and the construction details worth checking.
Geometric designs with multiple maple tones
A maker can combine naturally varied maple pieces to create contrast without bringing in another species. The result depends on selecting and arranging the pieces with enough consistency that the repeating shape stays visible. A good pattern has some variation, but not so much that every block competes for attention. For a woodworker curious about layout and assembly, this step-by-step 3D board build offers a project-focused look at the optical-illusion approach.
Simple patterns that stay readable during everyday use
A bold, uncomplicated design is often easier to live with than a dense mosaic. Chopping marks and food on the surface will interrupt any pattern while you work, so a restrained layout can be more practical than one relying on tiny, high-contrast details. Treat the board first as a work surface, then as a piece of kitchen decoration. A pretty board still has to hold a pile of chopped onions without looking like an optical exam.
How does maple contribute to the design?
Hard maple is a useful visual base because its pale color leaves room for the pattern to show. It also has a familiar, understated look that suits both simple and more elaborate layouts. The trade-off is that a light surface makes changes from use and care easier to notice, so finish and upkeep deserve a look before you buy.
Hard maple’s pale color as a visual base
The creamy, light color of hard maple gives a geometric design a calm background. Because the wood does not start with a strong dark tone, small shifts between blocks can remain visible without taking over the whole board. The Bevel & Bond End-Grain Maple Cutting Board is described as North American hard maple, Acer saccharum. For more on the species and its role in board construction, read why maple is common in end-grain boards.
Using grain variation without losing pattern clarity
Natural grain is never a perfectly repeated graphic. That is part of the charm, but a maker still needs to choose and orient the blocks with care. Look for a pattern that remains understandable across the whole board, rather than one section that looks crisp beside another that dissolves into visual noise. Minor variation can make the surface feel like wood instead of printed tile.
When contrasting wood species add useful definition
Some designs use a second species to make individual faces stand out more clearly. That can sharpen the illusion, though it also changes the board’s overall color and may make the pattern more visually dominant. If you prefer an all-maple look, ask whether the contrast comes from maple variation or from other woods. The answer should be explicit, not left to a product photograph that may flatter every board.
Checking that decorative details are suitable for food contact
Decorative materials do not replace the need for clear information about glue and finish. Ask the maker to identify the adhesive and surface treatment as suitable for a food-preparation surface, and follow its care directions. If the maker cannot answer basic questions, the visual effect is not a reason to guess. Keep decorative inlays or coatings from becoming a substitute for a properly finished, cleanable work surface.
Which construction details should you inspect?
A good-looking pattern is only part of a good board. Inspect the joins, the flatness, the edges, and the finish, because those details affect how the board feels in use and how easy it is to care for. The Bevel & Bond End-Grain Maple Cutting Board is listed with a 5-year warranty on manufacturing defects; for any board, read the written warranty and understand what it covers.
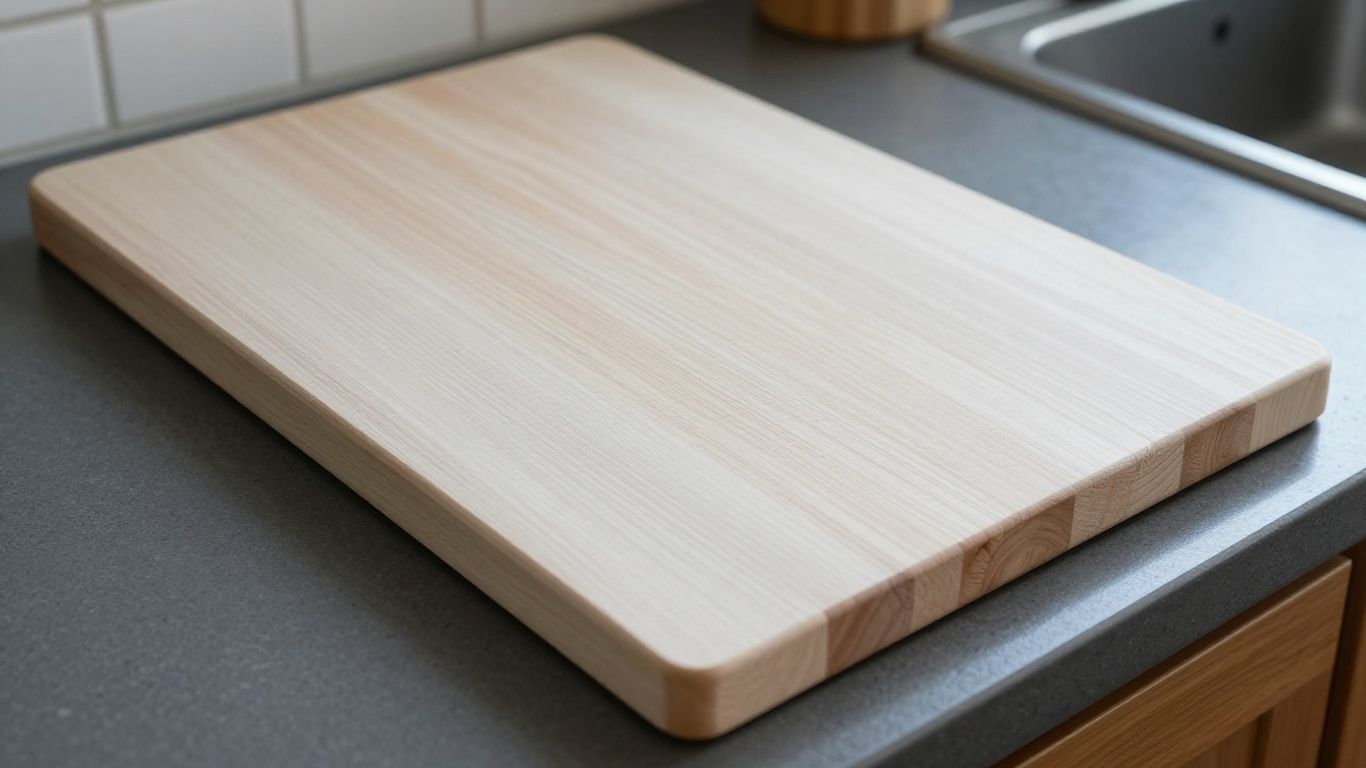
Consistent block sizing and tight glue joints
Repeated shapes should have reasonably consistent dimensions and clean, narrow seams. Small differences in natural grain are normal, but open gaps or glue lines that vary sharply can signal uneven assembly. Look across the pattern in good light, then inspect the edges. The design should continue cleanly around the board rather than abruptly losing alignment at its perimeter.
A flat, stable surface with no raised seams
Run your hand lightly across the face and check for ridges between blocks. A board can have visible glue lines and still be smooth; the concern is a seam you can catch with a fingernail or feel as a step. Set it on a level counter and see whether it rocks. A detailed pattern should not excuse an uneven working surface.
Smooth edges and a practical finish
Edges should feel comfortable in your hands, without sharp corners, splinters, or rough sanding marks. The finish should look even rather than gummy or patchy. Ask what product was used and how to refresh it. For a board used in food preparation, plain care instructions and a finish intended for that use are more helpful than vague claims about a special shine.
Signs that the pattern was assembled with care
A short inspection routine can keep the decorative appeal from distracting you from the build. Check these points in person or ask for clear photographs if you are buying remotely:
- Look for narrow, consistent glue joints between blocks.
- Check that the face is flat and the board sits steadily.
- Follow the pattern to see whether its alignment stays consistent at the edges.
- Ask for the wood species, finish, and care directions.
No single detail tells the whole story, but together they give you a better picture of the work than a dramatic product photo. The board should feel intentional from the top face to the corners.
How do you choose a board for your kitchen?
Choose a board for the prep you actually do, not just for the moment it catches your eye. A 3D pattern can make a useful board more distinctive, but size, weight, and storage will decide whether it earns a place on your counter. If you want a broader checklist, this guide to choosing a cutting board covers the practical trade-offs.
Matching board size to counter space and prep habits
Measure the counter space where you plan to work, and consider where the board will live when it is not in use. The Bevel & Bond End-Grain Maple Cutting Board is specified at 17 by 13 inches and 1.75 inches thick, with an approximate weight of 10 pounds. That gives you a concrete reference point, not a universal ideal. A crowded counter or limited storage may call for a smaller footprint; frequent batch prep may benefit from more room.
Balancing pattern detail with usable cutting area
A design can reach the edges or leave a simpler border, but you still need a comfortable area for a knife and ingredients. Consider where you tend to place a bowl, scrap container, or pile of chopped vegetables. On a compact board, a fine pattern may be visually busy and leave less room for the practical parts of your workflow. A clear layout is often easier to use and easier to appreciate.
Comparing weight, thickness, and ease of handling
Thicker boards tend to feel substantial, but that weight can make washing and storage more of a chore. The 17-by-13-by-1.75-inch Bevel & Bond End-Grain Maple Cutting Board is listed at about 10 pounds, so it is a useful example of the balance between a solid footprint and regular handling. Its listed features include a juice groove, finger grips, and non-slip feet. Compare those specifications with your own lifting comfort and available storage rather than assuming heavier always means better.
Deciding whether the board is for daily use or display
A board intended for daily prep needs a finish you can maintain and a surface that is practical to clean and dry. The same Bevel & Bond End-Grain Maple Cutting Board is listed with a 5-year warranty on manufacturing defects, a detail worth comparing with any maker’s written terms. If your main interest is display, you may value a more intricate design, but remember that food, knives, and routine care will change its pristine appearance. For a sizing comparison, this end-grain board size guide can help you think through the fit.
How do you keep the pattern looking sharp?
A patterned board needs the same steady care as any wooden cutting surface. Wash it by hand with mild soap and warm water, then dry it upright; do not soak it or put it in a dishwasher. The pattern itself does not need special treatment, but even cleaning and drying help the board stay in good condition over time.
Cleaning promptly after food prep
Wash the surface soon after use, especially after ingredients that leave strong color or odor. Mild soap and warm water are usually enough for routine cleaning. Do not leave food or moisture sitting on the board while you finish the rest of the kitchen. For visible marks, use a suitable cleaning method rather than aggressive scrubbing that may roughen the finish.
Drying the board evenly to limit movement
After washing, wipe away excess water and stand the board upright so air can reach both faces. Avoid leaving one side wet against a counter or storing it flat while damp. Wood responds to changes in moisture, so consistent drying is a sensible habit, not a guarantee against movement. A well-aired spot is better than a damp corner behind the sink.
Refreshing the wood finish when it looks dry
If the wood begins to look dry or pale in patches, apply food-grade mineral oil or an appropriate board conditioner according to its directions. A regular monthly check is a reasonable starting point, with the board’s appearance and use guiding the timing. Avoid olive oil and vegetable oil, which are not suitable substitutes for board-care oils. Apply the treatment to both faces and let it absorb before putting the board away.
Avoiding habits that can dull or distort the surface
A few habits do more harm than an elaborate cleaning routine can fix. Keep the board out of standing water, away from the dishwasher, and dry it rather than leaving it damp on the counter. Do not use harsh abrasives to chase every shallow knife mark. Those marks are part of normal use; the goal is a clean, smooth working surface, not a board that looks untouched forever.
Choosing a 3D end-grain maple cutting board
A 3D end-grain maple board gets its depth from repeated blocks, grain direction, and contrast, while its actual surface stays flat. Choose a design you enjoy, then inspect its joints, finish, dimensions, and handling weight with the same care you would give any working board. A pattern is a pleasure; a board that fits your kitchen is what makes it useful.
Best for
- Everyday prep: a simple pattern that stays readable while you work.
- Display or serving: a more detailed cube, chevron, or diamond layout.
- A quieter look: maple alone, with contrast from its natural variation and grain direction.
- Stronger contrast: a design that adds other species, as long as the stated materials suit food contact.
Frequently Asked Questions
Is a 3D end-grain cutting board physically raised?
No. The raised appearance is an optical illusion created by block arrangement, grain orientation, and contrast. The cutting surface should be flat and smooth.
Why are end-grain blocks used for these patterns?
End-grain construction presents the cut ends of the wood fibers at the surface. Reassembling blocks makes it possible to repeat geometric shapes across the board.
Can a 3D pattern be made with maple alone?
Yes. A maker can create contrast using maple’s natural variation and the orientation of its grain. Some designs use other species for stronger color contrast, so check the stated materials.
Does a more complex pattern mean better construction?
Not by itself. Pattern complexity is mainly a design choice. Tight joints, a level surface, smooth edges, and clear finish information are more useful construction checks.
How can I check whether a board is flat?
Run your hand across the surface to feel for raised seams, then set the board on a level counter and check whether it rocks. A patterned face should not have steps between blocks.
What size should I choose for everyday prep?
Measure your available counter and storage space, then consider the amount of food you usually prepare at once. The right size gives you enough working area without becoming awkward to move or clean.
How should I clean and dry a wooden cutting board?
Hand wash it with mild soap and warm water, do not soak it, and never put it in a dishwasher. Wipe it dry and stand it upright so both sides can air-dry.
What should you do next?
- Measure your counter and storage space before you compare boards.
- Check any board you like for a flat surface, tight joints, and smooth edges.
- Decide whether the board is mainly for daily prep or for display.
- See how a related layout is built in our guide to brick pattern end grain boards.
- Plan your cleanup with the two-minute board reset between prep tasks.
SEE AN EXAMPLE