END-GRAIN GUIDES
How to choose an end grain cutting board for left handed cooks
Choose an end grain cutting board for left handed cooks by checking size, layout, features, stability, and care.
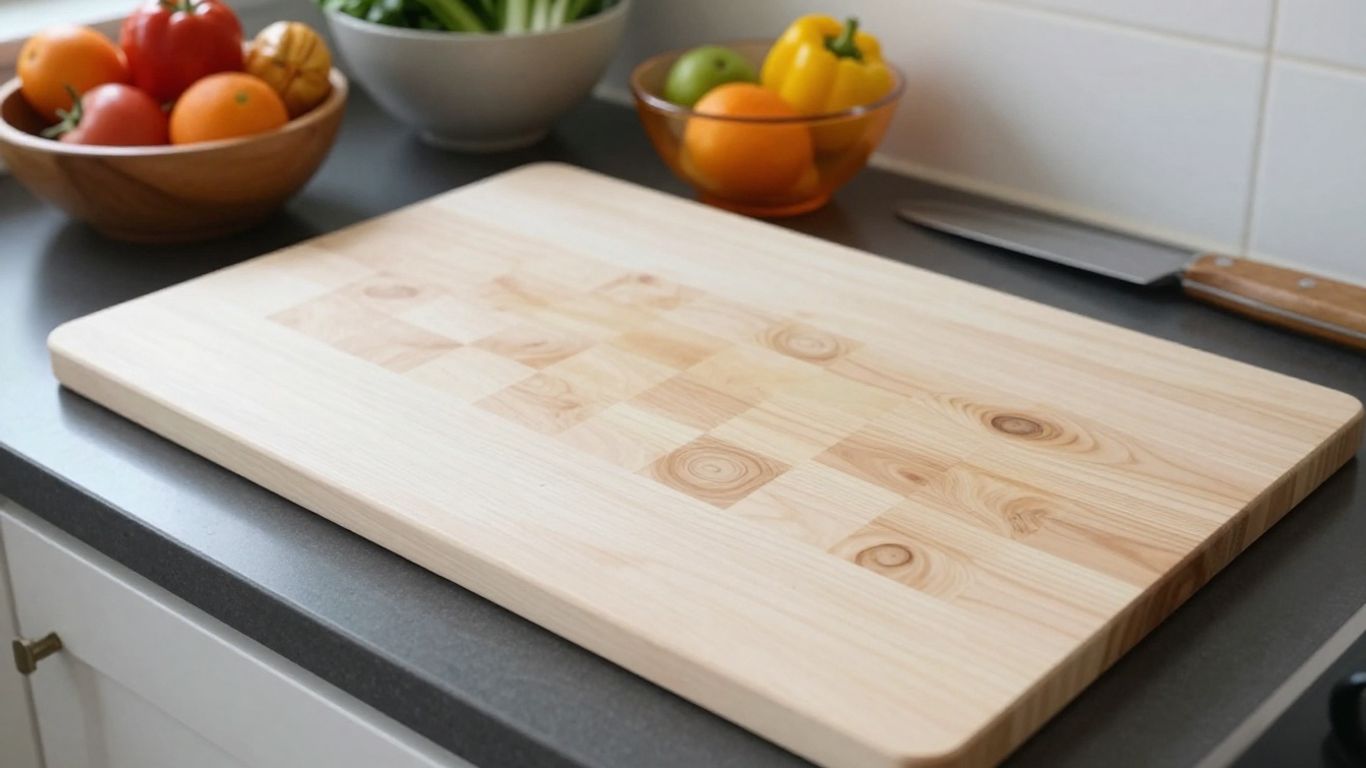
The short answer
For an end grain cutting board for left handed cooks, the key is a comfortable layout, not a specially shaped board. Choose a size and set of features that work with your knife path and counter.
- Leave room for your knife hand and a clear place for your guiding hand.
- Choose a board that fits your counter, sink, and storage space.
- End grain describes the wood’s orientation, not a left- or right-handed layout.
- Check grooves, grips, and both surfaces before settling on a setup.
- Wash by hand, dry upright, and oil the board regularly.
What does left-handed prep change at board level?
Left-handed prep does not call for a special grain pattern or a board built in reverse. What matters is whether the board gives you a comfortable path for your knife and a sensible place for ingredients and scraps. Start with the way you naturally stand and reach, then assess the board against that routine.
Keep room for your knife hand and cutting motion
Stand at the counter and picture the path your knife takes through a slice or chop. You want enough clear surface for that motion without your elbow bumping a wall, appliance, or another person. A comfortable knife path matters more than a board’s decorative pattern, especially when you are making repeated cuts.
Position ingredients and scraps for your workflow
Most cooks find it easier to keep uncut ingredients on one side and finished pieces on the other, but the useful sides depend on your reach and knife hand. Try the arrangement with a few ingredients before you commit to it. If scraps tend to pile up near your cutting hand, move the scrap bowl to a spot you can reach without crossing over the blade.
Make sure your guiding hand has a clear place to rest
Your guiding hand should be able to steady food without being crowded by a groove, raised feature, or heap of chopped vegetables. Leave a little open surface in front of the ingredient you are cutting. It is an unglamorous detail, but it makes a busy prep session feel less cramped.
Check that the board fits your usual counter setup
A board can be comfortable in isolation and awkward beside your sink or stove. Notice where you stand, where ingredients arrive, and where you set a bowl once it is filled. These small distances shape your workflow more than handedness alone.
What board size and shape suit your prep?
Choose the largest board that fits your working counter and is still manageable for you to lift and wash. A generous surface gives you room to separate ingredients, while a board that crowds the counter can make every other task harder. Measure the space you actually use, not just the empty counter you admire before cooking.
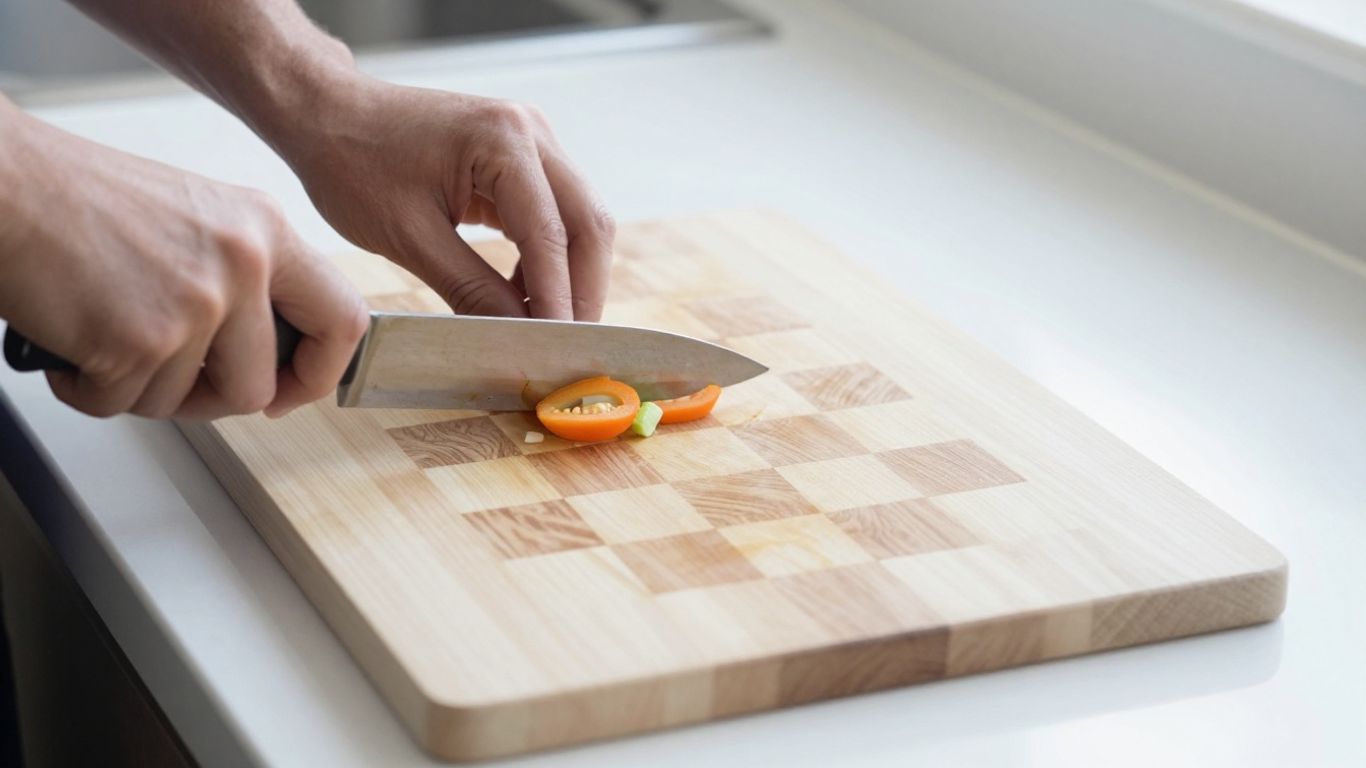
Balance cutting space with available counter room
Measure the clear work area, including room for a bowl or tray beside the board. A 17-by-13-inch surface, for example, gives you a useful reference point when comparing a board with your counter. The Bevel & Bond End-Grain Maple Cutting Board measures 17 by 13 by 1.75 inches and weighs about 10 pounds, so its footprint and heft are worth considering together.
If you want to think through dimensions and thickness as a pair, this maple board thickness guide covers practical size and handling considerations. A board that fits the counter but blocks your usual landing spot for prepared food may still be the wrong choice.
Consider rectangular boards for flexible placement
A rectangular board is easy to turn so the long edge runs in the direction that suits your station. That gives you a simple way to adjust the working area without changing the position of a fixed feature. The maple cutting board size guide can also help you compare dimensions with your cooking habits and storage needs.
Match board thickness and weight to how you work
Thickness affects both how substantial a board feels and how easy it is to move. A heavier board may stay put more readily, but you will notice the weight when lifting it to clean or store it. For another perspective on the purchase decision, see this guide to how to choose a cutting board.
Leave space to move chopped ingredients safely
A board should give you room to gather cut ingredients without pushing them toward the edge. Keep the knife and the pile of prepared food in separate working areas where possible. A little extra surface can make transferring food to a pan or bowl less fussy.
What does end grain change, and what does it not?
End grain refers to the cut ends of the wood fibers facing upward at the cutting surface. It does not dictate where a left-handed cook must place ingredients or which side of the board to use. Your choice between end grain and edge grain is mostly about feel, upkeep, weight, and budget.
Know how end grain responds to repeated knife cuts
On an end-grain surface, the wood fibers meet the knife more directly than they do on an edge-grain surface. That construction is often chosen for a forgiving feel under the knife, but it does not make a board mark-proof. Regular use still leaves wear, so keep the surface clean and follow appropriate care instructions.
Treat handedness as a layout choice, not a grain requirement
There is no left-handed direction built into end grain. The same board can be turned or repositioned to suit your stance, provided its grooves, feet, or other features allow it. Think of grain as a construction choice, then arrange ingredients and scraps around your own cutting motion.
Compare end grain with edge grain for your budget and use
The differences are easier to weigh when you compare the practical trade-offs side by side. Neither construction makes a board automatically right for every kitchen.
| Consideration | End grain | Edge grain |
|---|---|---|
| Surface orientation | Cut ends of fibers face up | Long sides of fibers face up |
| Typical feel | Often chosen for a forgiving knife feel | Firm, familiar cutting surface |
| Weight and handling | Often heavier | Often easier to lift |
| Cost and upkeep | Usually a larger investment; needs regular care | Often more budget-friendly; still needs care |
If you chop frequently and do not mind a heavier board, end grain may suit you. If moving and storing the board is a bigger concern, edge grain may be the more practical fit.
Choose a wood species suited to regular food prep
For regular kitchen use, look for a suitable hardwood with a smooth, well-maintained surface. Species affect hardness, appearance, and how the board responds to wear, but no wood removes the need for sensible cleaning and drying. Keep your choice grounded in how often you cook and how much maintenance you are willing to do.
Do grooves, handles, and reversible surfaces help?
Features can make a board more useful, but they can also claim space you would rather use for cutting. For left-handed prep, inspect the board from the position where you will stand, not just from above in a product photo. Decide which features support your routine and which ones would make you work around them.
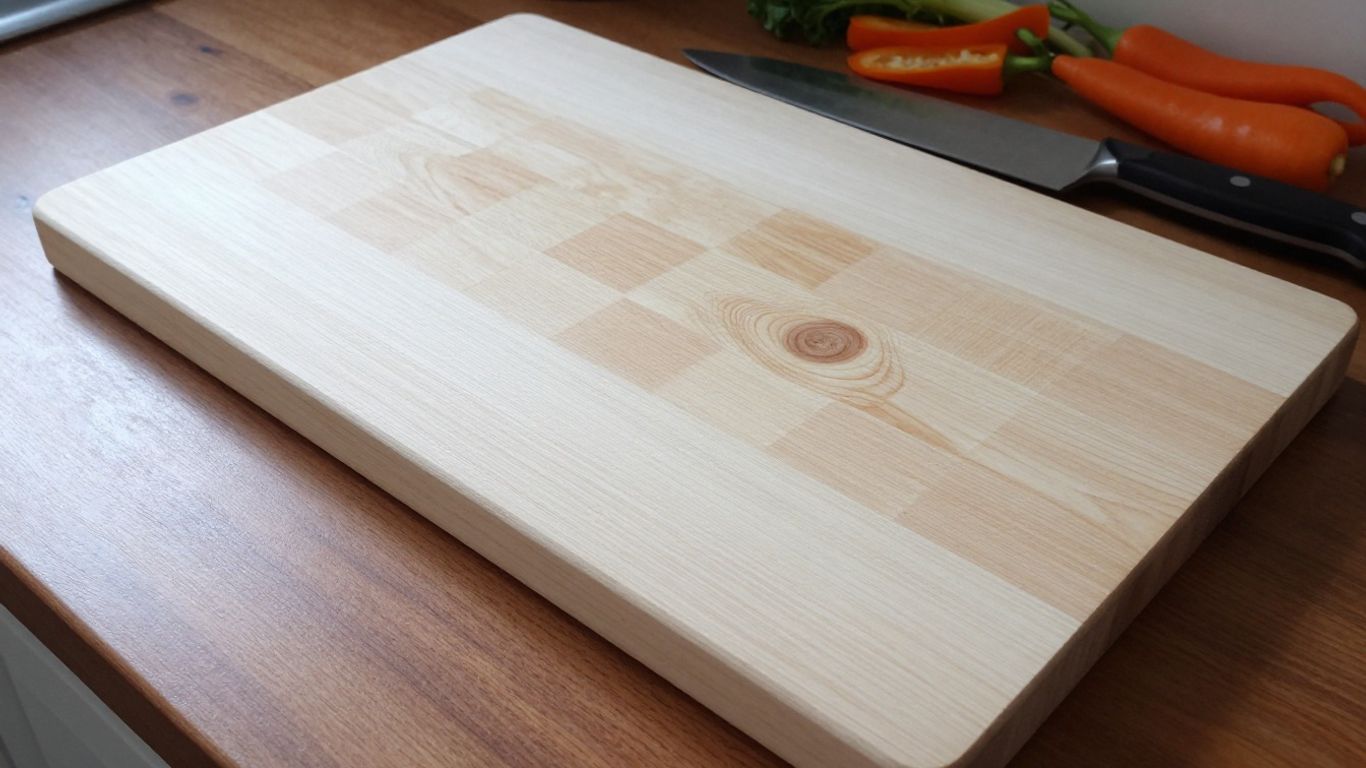
Decide whether a juice groove helps with your ingredients
A juice groove can help contain liquid from foods that release a lot of moisture, though it takes up some surface area. If most of your prep is dry chopping, that trade-off may not help you much. The Bevel & Bond End-Grain Maple Cutting Board has a juice groove, so consider whether that feature fits the ingredients you prepare most often.
Check handle placement before choosing a fixed orientation
A handle or finger grip may make lifting easier, but its position can determine how you naturally orient the board. Set the board down as you would use it and check that the grip does not occupy your preferred cutting or staging area. If it does, see whether turning the board solves the problem.
See whether both sides work for left-handed prep
A reversible board can offer another usable surface, but only if both sides suit the way you work. Check for feet, grooves, or other details that make one orientation more convenient than the other. Do not assume that reversible means identical: inspect both sides before choosing a setup.
Avoid features that take away useful cutting space
Raised edges, deep grooves, and prominent grips can reduce the flat area available for prep. Before buying, estimate where your ingredients and knife will sit, then compare that footprint with the board’s usable center. Features should earn their space by solving a problem you actually have.
How stable and easy to handle is the board?
A board should sit flat and feel controlled under ordinary chopping. A heavy board can be reassuring, but weight alone does not guarantee a stable setup. Check the underside, counter surface, and storage plan as part of the same decision.
Look for a flat board that sits securely on the counter
Set the board on a level surface and check whether it rocks from corner to corner. Also consider whether the counter is dry and clear where you plan to work. The Bevel & Bond End-Grain Maple Cutting Board has non-slip feet, a feature intended to help it stay in place on the counter.
Decide whether the board is manageable to lift and turn
Imagine lifting the board after a meal, when it may be damp or carrying scraps. A board that feels fine on the counter may be awkward to carry to the sink or place on a shelf. The Bevel & Bond End-Grain Maple Cutting Board weighs about 10 pounds, a practical detail to compare with your own lifting and storage routine.
Use a damp towel or grip mat if the board shifts
If a board slides on your counter, a damp towel or a food-prep grip mat beneath it can help steady the setup. Make sure the towel is flat rather than bunched under one edge. Afterward, lift the board and dry the counter and underside so moisture is not left trapped there.
Check how the board fits in your sink and storage space
Measure the sink basin and the shelf or cabinet where the board will live. You should be able to wash it without awkwardly twisting it, and store it upright where air can reach both sides. A board that fits the counter but not the sink can turn ordinary cleanup into a chore.
How do you set up and maintain the board for left-handed use?
Start with a layout that lets you cut comfortably and move food without reaching across the blade. Then keep the board clean and dry so its surface remains ready for the next task. A practical routine beats a perfect arrangement that you never use.
Place the board to allow a comfortable knife path
Center the board where your shoulders and elbows can move freely, then turn it until the knife path feels natural. Leave enough room beyond the cutting area to gather ingredients or set down a bowl. If you share the counter, make sure your working elbow is not competing with another station.
Keep scraps and prepared ingredients within easy reach
A simple arrangement can keep your work orderly without turning prep into a staging production. Try these positions and adjust them to the counter you have:
- Uncut ingredients on the side you can reach without crossing the blade.
- A scrap bowl near your non-cutting side, but outside the knife path.
- Prepared ingredients in a separate bowl or clear corner of the board.
The goal is a short, clear reach for each task. Move a bowl if you find yourself reaching over the knife or pushing finished food toward the edge.
Rotate the board when a feature limits your preferred setup
If a groove, grip, or foot placement gets in your way, turn the board and test the other orientation. You do not need to preserve a particular visual direction if the board works better rotated. If neither orientation gives you enough clear space, the feature or overall size may not suit your routine.
Clean and dry both sides to help prevent warping
Hand wash with mild soap and warm water, then dry the board upright so air can reach both sides. Do not soak it or put it in the dishwasher. About once a month, apply food-grade mineral oil or a board conditioner made for cutting boards; avoid olive and vegetable oils. Regular, even care helps limit uneven moisture changes that can contribute to warping.
Choosing an end-grain cutting board for left-handed cooks
The right end-grain board for left-handed prep is one that gives you a clear knife path, enough space for ingredients, and features that suit your counter rather than dictate your movements. Check the dimensions, weight, working surface, and care routine before choosing, then set it up around the way you actually cook.
Best for
- Any left-handed cook: a comfortable layout for your knife path, not a specially shaped board.
- A forgiving knife feel: end grain, if you accept more weight and a larger investment.
- Easier lifting and a lower budget: edge grain, which still needs regular care.
Frequently Asked Questions
Does a left-handed cook need a special end-grain cutting board?
No. End grain describes how the wood is oriented, not a handed layout. Choose a board whose size and features allow you to work comfortably.
Should a left-handed cook keep scraps on the right or left?
Put scraps wherever you can reach them without crossing over your knife. Try a few positions during prep and use the one that keeps your cutting path clear.
Is a rectangular board easier to position?
A rectangular board is simple to rotate, which gives you flexibility in how its long and short sides sit on the counter. The best shape still depends on your available space and routine.
Does end grain make a board mark-free?
No. End grain is often selected for its feel under the knife, but normal cutting can still leave marks. Regular care and sensible use remain important.
Do you need a juice groove for everyday cooking?
Not necessarily. A groove can help contain liquid from juicy ingredients, but it uses some of the board’s flat area. Choose it if that trade-off matches the food you prepare.
How should you keep a wood cutting board stable?
Use it on a flat, dry counter. If it slides, place a flat damp towel or grip mat beneath it, then dry the counter and underside after use.
How often should you oil a wood cutting board?
A common care routine is to apply food-grade mineral oil about once a month, adjusting as needed for your kitchen and use. Wash by hand, dry upright, and never soak the board or put it in a dishwasher.
What should you do next?
- Watch where your knife travels and where finished food piles up as you work.
- Choose a size that leaves room for prep and for bowls on whichever side suits your flow.
- Check how stable the board feels before you commit.
- If handling weight is a concern, read how to choose an arthritis-friendly end grain board.
- If you share the kitchen, see an end grain board for a two-cook kitchen.