END-GRAIN GUIDES
How to choose an arthritis friendly end grain cutting board
Choose an arthritis friendly end grain cutting board by comparing weight, stability, reach, and care.
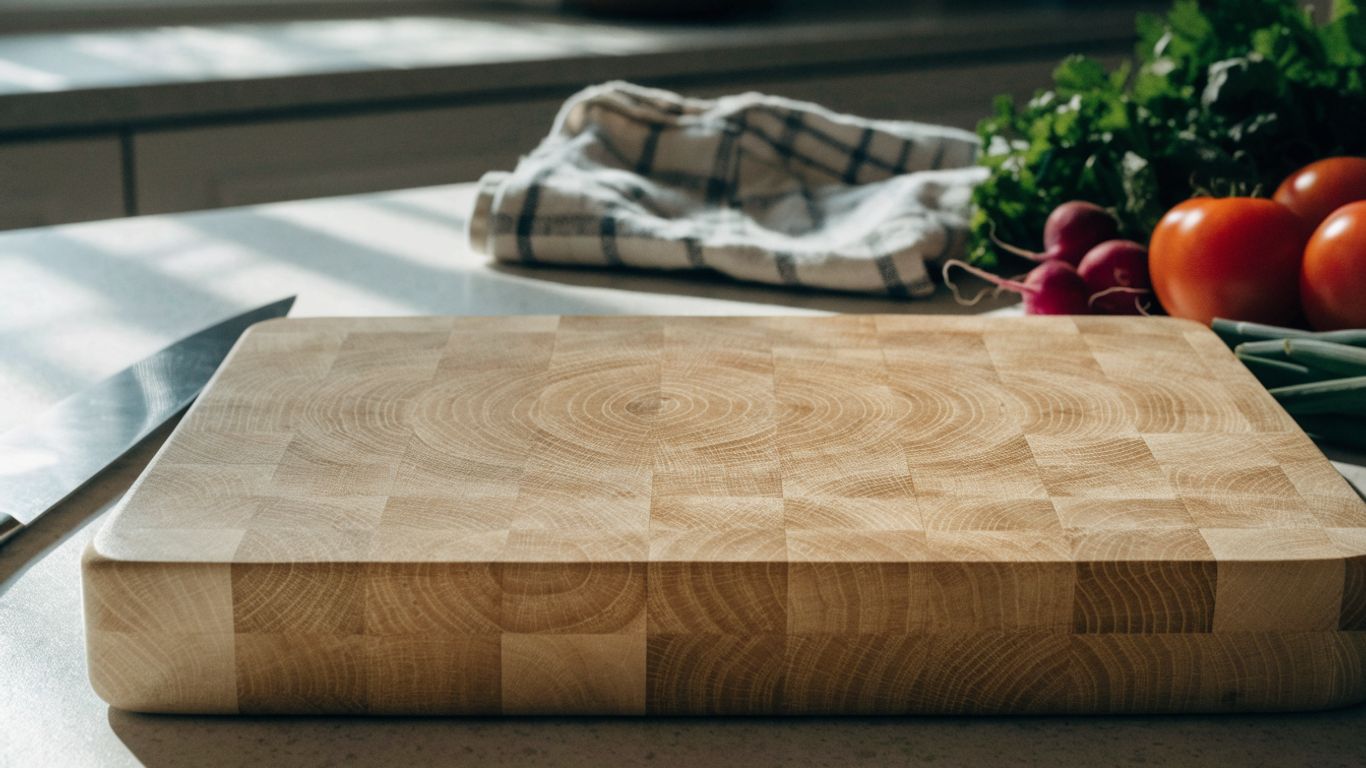
The short answer
Choose a board for the movements that bother you most, not for its appearance alone. Weight, stability, access, and cleanup all affect how comfortable it is to use.
- Try the board’s grip, reach, and working height in your own kitchen.
- Balance useful cutting space against the effort of lifting and washing it.
- Look for stable feet or plan to use a damp mat underneath.
- End grain may respond differently to knife cuts, but it does not remove the need to chop with care.
- Check the care routine and listed dimensions before you buy.
Which tasks cause you discomfort?
An arthritis friendly end grain cutting board is one that fits your strength, range of motion, and kitchen routine. Start by noticing which part of prep feels hardest, then use that to decide which features deserve priority. End-grain construction alone does not make a board easier to handle.
Note whether gripping, pressing, reaching, or lifting is hardest
Think about a typical meal, from pulling the board out to washing it afterward. If gripping is uncomfortable, smooth edges that are difficult to pinch may be a poor fit; if lifting is the problem, a board that can stay on the counter may matter more than a carrying grip. Match the board to the difficult movement rather than assuming one feature will solve every task.
A brief kitchen check can make the choice clearer. Notice whether discomfort comes from holding a knife, pressing down, reaching across the counter, or moving a loaded board. Those are different problems, and a board’s size or weight may help one while making another worse.
Consider which hand and joints are most affected
Your dominant hand is only part of the picture. Wrist, thumb, finger, elbow, or shoulder discomfort can change how you approach the board and how easily you move ingredients. Consider whether you need space to work close to the board, room to turn it, or a layout that keeps frequently used tools within reach.
If you cook left-handed, or share prep with someone who does, consider the board’s overall layout and where any groove or grip falls. The advice in this left-handed board guide can help you think through those details without assuming that grain orientation and board layout are the same thing.
Match board features to your kitchen routine
A feature is useful only if it supports the way you cook. If you usually prepare small portions, a large surface may take up space without making prep easier. If you batch-chop vegetables, more room can help keep cut ingredients separate, provided the board remains manageable to move.
Write down the tasks you do most often and the movement you would most like to make easier. That short list gives you a practical standard for comparing boards, instead of relying on a vague promise of comfort.
What size and weight are manageable?
The best size is large enough for your usual prep but light enough for you to handle comfortably. A heavier board may feel planted during use, while a lighter one is easier to carry and wash. The trade-off is real, so consider where it will live and how often you expect to move it.
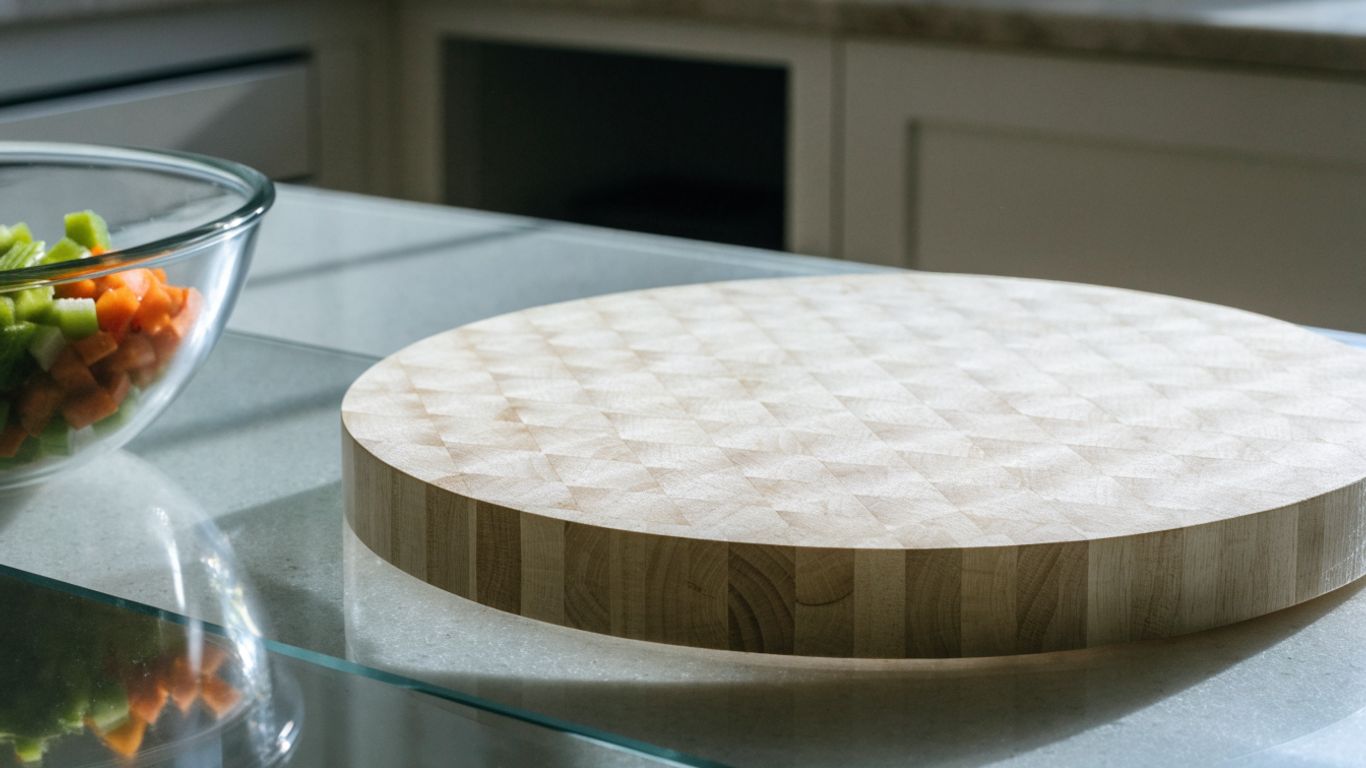
Balance cutting space against the effort of moving the board
Measure the counter area where you actually prep, leaving room to stand close and set down a bowl or plate. A board should not force you to reach around a corner or work at the edge of the counter. For more on fitting a board to limited space, see this guide to end-grain maple board size for small kitchens.
A slightly smaller board can be easier to lift and clean, but too little room may crowd your knife work. Choose the largest surface you can comfortably access and manage, not simply the largest one that fits on the counter.
Compare board thickness and overall weight
Thickness affects the board’s feel and handling, but it does not tell you its full weight by itself. Dimensions, wood, and construction also matter. Compare listed measurements and weight together, especially if you expect to lift the board into a sink or cupboard.
| Board detail | What to check | Why it matters |
|---|---|---|
| Length and width | Fit on your prep counter | Determines usable cutting space |
| Thickness | Overall height and listed weight | Affects handling and storage |
| Weight | Whether you can lift and wash it | A heavy board may be awkward to move |
| Shape | Room to stand and approach | Helps avoid reaching around the board |
For a specific reference point, the Bevel & Bond end-grain maple board is listed at 17 by 13 inches, 1.75 inches thick, and about 10 pounds. This site is published by the team behind Bevel & Bond. Use those figures as a comparison, not as a target; your comfort and counter setup should decide what is manageable.
Consider whether the board can stay on the counter between uses
If moving a board is uncomfortable, leaving it on the counter may be simpler, provided it does not crowd your workspace. Measure the area before you buy and consider whether you can still reach the sink, stove, and commonly used tools without stretching.
A board that stays put can be a sensible choice, but it still needs enough clearance for washing and drying. Think through the whole routine rather than only the moment of chopping.
How do you get reliable stability and easy access?
A board should stay steady during ordinary prep and sit where you can approach it without straining. Nonslip feet can help keep a board from shifting, though a damp mat is another practical option. Stability helps the work feel controlled; it does not replace a comfortable position or careful knife handling.
Check for nonslip feet or plan to use a damp mat
Look at the underside and confirm whether feet are included and attached firmly. If the board has no nonslip feet, a damp mat beneath it may help keep it in place. Check that the board does not rock on your counter, since an uneven surface can make prep less predictable.
The Bevel & Bond board listing specifies non-slip feet, one concrete detail you can compare with other boards’ descriptions. Whatever the design, test the board on the surface where you plan to use it if you can.
Make sure the board sits at a comfortable working height
Your counter sets the basic height, but a thick board raises the cutting surface. If raising your hands or shoulders already feels tiring, notice how the added height changes your posture. A comfortable position lets you keep your elbows relaxed and your work close, rather than leaning forward to reach the center.
A quick trial with a board or a similar-sized object can help you judge the height before ordering. Small differences may matter more over a long prep session than they do during a quick snack.
Leave enough counter space to approach the board without reaching
The board should be positioned so you can stand close and keep ingredients and tools within easy reach. Avoid wedging it against a wall or placing it where you need to twist repeatedly to reach a sink or bowl.
The goal is not an elaborate kitchen setup. It is a clear working area that lets you bring food toward you and move it away without unnecessary lifting or reaching.
What can end grain do, and what can it not do?
End-grain construction describes how the wood is arranged, not an ergonomic treatment. The cut ends of the wood fibers face upward, and the surface responds to knife contact differently from a board whose long grain faces up. That construction may be appealing, but it cannot promise less discomfort or less force while chopping.
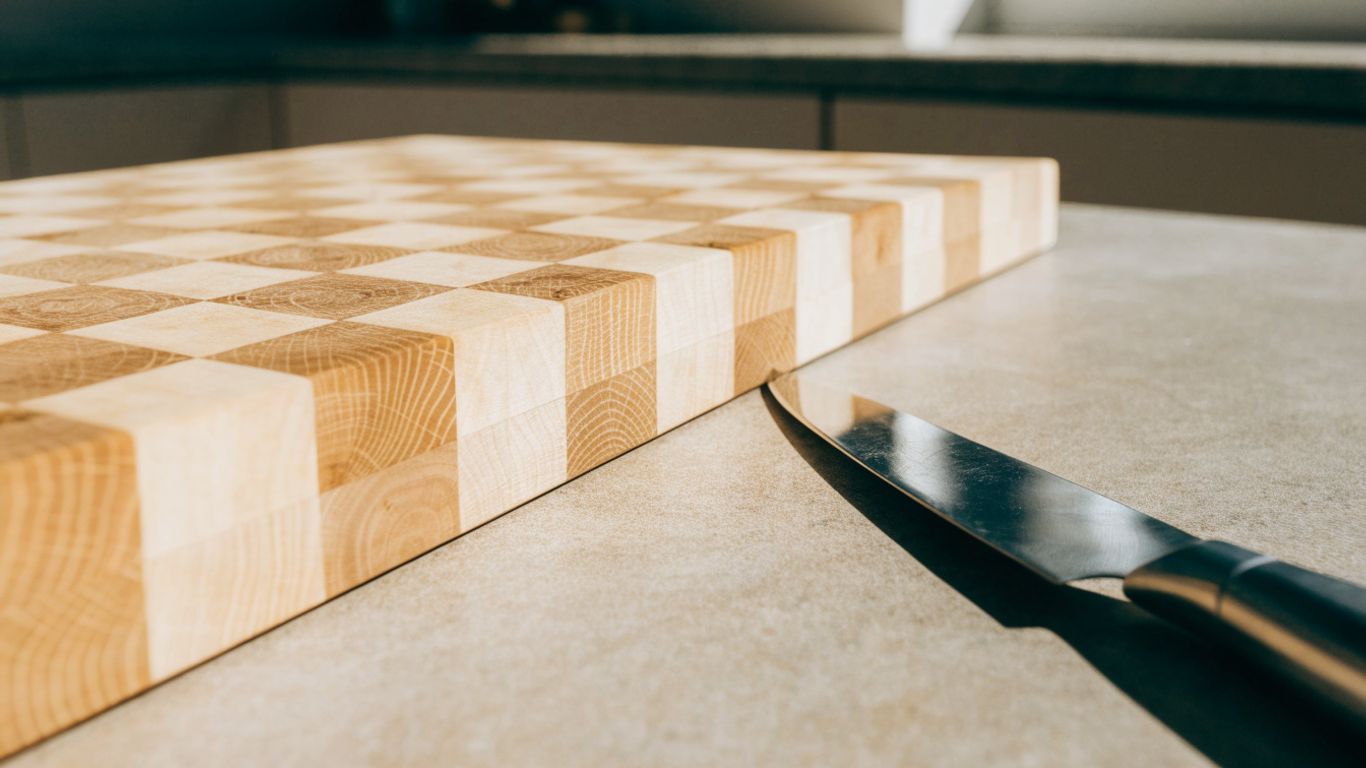
Know how end-grain construction responds to knife cuts
On an end-grain board, the ends of the wood fibers form the cutting surface. Knife marks may look different from those on other grain orientations, and that structure is part of why cooks choose this style. If you want a closer look at the construction trade-offs, this end-grain and edge-grain comparison for maple boards explains what changes under the knife.
Think of grain direction as one factor among several, alongside weight, stability, and care. It does not tell you whether the board will feel comfortable to lift or whether you can reach across it easily.
Don’t assume the surface will reduce the force needed to chop
If pressing down is painful, end grain is not a substitute for adjusting your technique or choosing prep tasks that suit your comfort. Try a lighter, controlled cut rather than bearing down, and take breaks when your hand or wrist begins to tire. A cutting board cannot remove the physical effort of chopping.
A video can be useful for seeing a relaxed cutting motion, but use any demonstration as general technique guidance, not medical advice.
Keep knives sharp to avoid extra pressure during cutting
A dull knife can make food prep feel like more work because you may need to press harder to make a cut. Keep your knife in good condition and use a stable board; do not compensate for a dull edge by forcing the blade down.
If pain or weakness changes how safely you can handle a knife, consider a different prep method or ask a qualified health professional for advice about adaptations. Comfort and safety matter more than keeping a particular cutting style.
Which handling and cleanup details matter?
The board’s daily routine matters as much as its cutting surface. Look at how you will grasp it, wash it, and leave it to dry. A design that is easy to use but awkward to clean may become a chore, so weigh those details before deciding.
Look for grips or edges that are easy to grasp
Finger grips, rounded edges, and a surface you can hold without pinching may make moving a board easier, depending on your hands. The Bevel & Bond board listing includes finger grips, but you should still decide whether their placement and shape suit your grip.
If possible, try lifting the board from a counter rather than judging a handle from a photograph. A grip should feel secure without requiring a tight squeeze.
Consider how the board will be lifted, washed, and dried
Picture the full cleanup: carrying the board to the sink, washing it by hand, then placing it somewhere to dry. The Bevel & Bond board is about 10 pounds, so its listed weight is worth considering if you expect to move it after every use. Its features are not a guarantee that the board will feel light in your hands.
For care, follow the maker’s instructions. The listed guidance for this board is to hand wash with mild soap and warm water, dry upright, and avoid soaking or using a dishwasher. A board you can leave on the counter may reduce lifting, but it still needs a place to dry.
Weigh easy-clean features against grooves and other details
A juice groove can catch liquid during some kinds of prep, but it also adds an edge to clean. Decide whether that feature matches your usual tasks or whether a simpler flat surface would suit you better.
When comparing options, consider these everyday questions:
- Can you lift the board with a comfortable grip?
- Can you wash and dry it without holding it for long?
- Will its grooves or edges be easy for you to clean?
- Is there a suitable place to keep it between uses?
A few minutes spent thinking through cleanup can save frustration later. If you want a broader look at choosing board features, this guide to cutting board options covers factors such as material, size, and intended use.
How should you compare boards before you buy?
Compare measurements and handling details, not just product photos. Listed dimensions, weight, feet, grips, and care instructions give you a useful first screen, while an in-person check can reveal whether the board feels comfortable to approach and lift. The trade-off is that no specification sheet can tell you exactly how a board will feel in your hands.
Check listed dimensions, weight, feet, and handle design
Read the full specifications and note anything that affects your routine. A board may fit the counter but still feel too heavy to wash, or include feet that raise its working height more than you prefer. Compare the features against the movements you identified earlier.
Do not treat a larger or thicker board as automatically better. The right choice is the one you can use without awkward reaching and manage through cleanup.
Review care instructions and return terms
Make sure the care routine is realistic for you and check the seller’s return terms before ordering. Wood boards generally need attentive hand cleaning and drying; follow the specific manufacturer’s directions rather than assuming every board can be treated the same way.
Look for clear information about maintenance and what is covered if there is a manufacturing problem. Return terms are especially worth reading when you cannot test the board’s weight or grip first.
Test the board’s grip and reach if you can do so in person
Stand where you would normally prep and reach to the center of the board. Try lifting one edge, then imagine carrying it to the sink. If it feels awkward in a store, it is unlikely to become more convenient at home.
A useful final check is to compare your top choices against a short list: surface area, manageable weight, stable footing, comfortable reach, and reasonable cleanup. If each item works for your routine, you have a more grounded basis for choosing than appearance alone.
Choosing an arthritis-friendly end-grain board
An arthritis friendly end grain cutting board should suit the way you grip, reach, chop, and clean up. Prioritize manageable weight and dependable stability, then choose the largest useful surface you can comfortably handle. End grain may be the construction you prefer, but the board’s everyday fit is what makes it practical.
Best for
- Limited grip or wrist strength: a lighter board you can lift and wash without strain.
- Stability worries: a board that sits flat, with a non-slip setup underneath.
- Reaching or standing discomfort: a shape that lets you approach the work without reaching around the board.
- Tight storage: a size and thickness checked against the listed weight.
Frequently Asked Questions
These answers can help you narrow down the features that may make prep more manageable. Your comfort, kitchen layout, and care routine should guide the final choice.
Is an end-grain cutting board better for arthritis?
Not necessarily. End grain describes the board’s construction, but it does not guarantee less pain or less effort; weight, access, and stability may matter more to your daily comfort.
What size cutting board should I choose?
Choose a surface large enough for your usual prep that still leaves room to stand close and move around it. Measure your counter and consider how much lifting and washing the board will require.
Are heavier cutting boards more stable?
Weight can help a board feel planted, but a heavy board may be difficult to carry or clean. Check for nonslip feet or consider using a damp mat if the board shifts.
Do nonslip feet make a board easier to use?
They may help keep a board steady on the counter. Check that the feet suit your work surface and that the board does not rock or slide during use.
Should I choose a board with handles?
Choose grips or edges you can grasp comfortably without a tight pinch. If you can, lift the board before buying to see whether its shape works for your hands.
Does end grain require special care?
Follow the maker’s care directions. For a wooden board, that may include hand washing, drying thoroughly, and avoiding soaking or a dishwasher; instructions can differ by product.
Can a cutting board reduce the force needed to chop?
A board cannot remove the effort involved in cutting. A sharp knife and controlled technique can help you avoid pressing harder than necessary, but stop if a task causes pain or feels unsafe.
What should you do next?
- List the prep tasks that bother you most.
- Check the listed length, width, thickness, and weight of any board you consider.
- Plan where the board will live, so you lift it as little as possible.
- Set up a layout that fits your knife path, as described in choosing an end grain board for left-handed cooks.
- Keep cleanup short with the two-minute board reset.