END-GRAIN GUIDES
How to choose an end grain cutting board for cleaver work
Choose an end grain cutting board for cleaver work by comparing wood, size, stability, and care.
The short answer
For an end grain cutting board for cleaver work, choose the board for the force you’ll use, not just the shape of the blade. A sturdy end-grain board can suit everyday chopping, but heavy bone work calls for extra care and a surface designed for that impact.
- Match the board to whether you’re chopping vegetables, boneless meat, or bones.
- Look for sound end-grain construction, tight joints, and a food-safe finish.
- Choose a board large and thick enough for the task, but manageable in your kitchen.
- Keep the board stable with a flat base and a nonslip layer when needed.
- Wash by hand, dry both faces, and oil the wood as it dries.
What kind of cleaver work will you do?
An end-grain board is a practical choice for vegetable prep and boneless meat, where a cleaver’s weight can make quick work of repeated chopping. Bone work is a different job: the impacts are harder, and you should choose a purpose-built chopping surface rather than assume any cutting board will do. The trade-off is simple: a board that feels forgiving for routine prep may not be the right tool for splitting dense bones.
Chopping vegetables and boneless meat
For squash, cabbage, herbs, and boneless cuts, focus on a broad, steady surface with enough room to land each stroke cleanly. End grain presents the wood fibers at the cutting surface, so the blade meets the ends of those fibers rather than slicing across long strips. That can make the board feel more forgiving under a knife, though it still needs regular care. If you’re comparing construction types, this guide to end grain and edge grain for maple boards lays out the basic differences.
Using a cleaver to cut through bones
A cleaver used on bones takes more than a sharp edge and a confident swing. Bone is hard and irregular, so a glancing strike can stress the blade, the board, or your hands. For occasional poultry joints, use controlled strokes and follow the joint when possible; for repeated chopping through dense bones, use a chopping block explicitly suited to that work. Don’t treat a general-purpose kitchen board as a substitute for a butcher’s block just because it is thick.
Why heavy impact calls for a different surface
Impact builds up over many strokes. For everyday chopping, a dense hardwood end-grain surface can be a sensible compromise between a firm landing and a degree of give. For unusually forceful work, first consider the board’s intended use, condition, and stability. A cleaver chopping example is useful for seeing how board choice fits into broader prep, but the right surface still depends on what you plan to cut.
What makes an end-grain build durable?
A durable end-grain board starts with sound wood and careful construction, not a decorative checkerboard alone. Inspect the joints, the flatness, and the finish, then consider whether the wood is suitable for repeated knife contact. The trade-off is that a substantial end-grain board can need more routine oiling than a lighter, simpler board.
How end grain handles repeated chopping
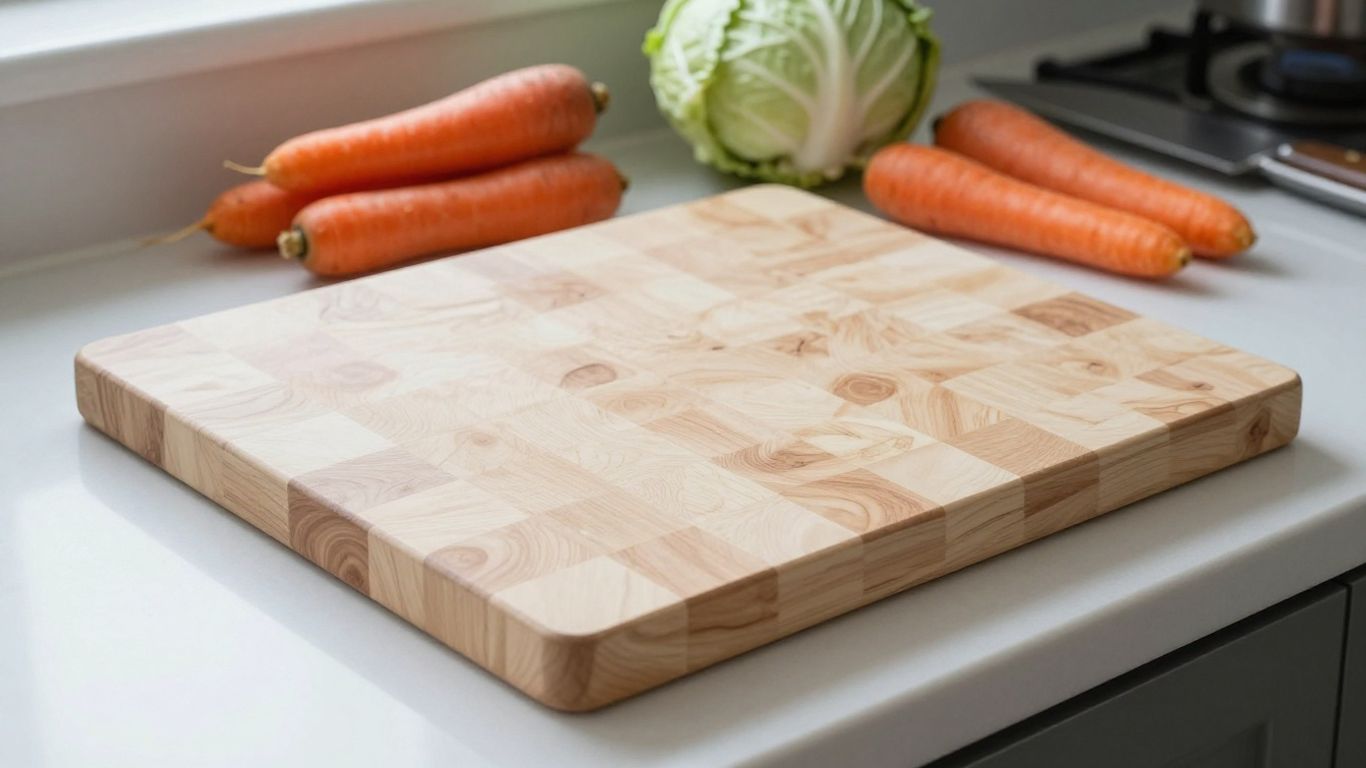
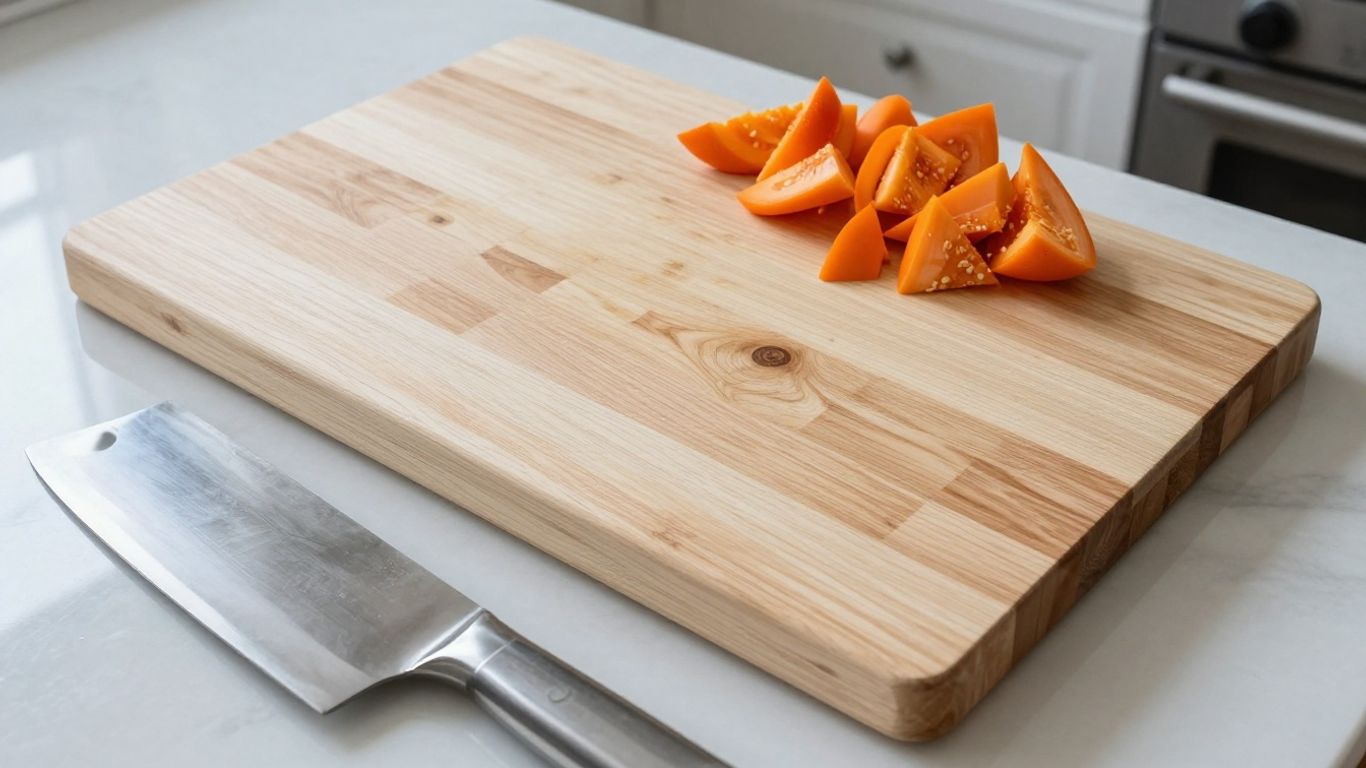
In an end-grain board, the wood’s cut ends face upward. That orientation gives a cleaver a different surface to meet than a board built with long strips running along the top. It can help conceal cut marks, but it does not mean the surface is immune to damage or that the board maintains itself. For a closer look at the construction steps, see how end-grain boards are made.
Which hardwoods suit cleaver work
Choose a dense, close-grained hardwood intended for food preparation, and pay attention to the board’s actual construction as well as its species. Hard maple is a well-established option for cutting boards; cherry is another hardwood, with a softer feel than maple. Here’s a quick comparison of common choices and the practical question each raises:
| Wood | What to consider | Useful question |
|---|---|---|
| Hard maple | A dense, light-colored hardwood used for cutting boards | Is the grain and construction consistent? |
| Cherry | A hardwood with a warmer color and somewhat softer feel | Does the surface suit your chopping habits? |
| Beech | A hardwood used in kitchen tools and boards | Is the board made and finished for food prep? |
For cleaver work, don’t choose on color alone. Check the build and match the board to the force you expect to use; wood hardness for cutting boards gives more context on comparing species.
What to check in the board’s joints and finish
Run your eyes over the glue lines and edges: the joints should look tight, with no gaps or loose blocks. The surface should be smooth and level, without cracks, splinters, or a coating that could chip under knife contact. The Bevel & Bond board is made from hard maple and measures 17 by 13 inches by 1.75 inches; those are concrete dimensions to compare against your own space and workload. This site is published by the team behind Bevel & Bond.
What size and thickness do you need?
The best size is the one that gives you room to work without becoming a nuisance to lift, wash, or store. For cleaver prep, prioritize a wide landing area and enough thickness to keep the board planted. A larger, heavier board can feel steadier, but it also asks more of your counter and storage space.
Leave room for the cleaver and ingredients
Leave space beside the cutting area for the food you’ve already chopped, and keep the cleaver’s full swing clear of bowls, counters, and nearby hands. A board around 17 by 13 inches offers a useful reference point for a home prep station, while a tighter kitchen may call for less. Measure the counter and sink before buying; choosing a board for a small kitchen can help you think through the footprint.
Choose enough thickness for a stable work surface
Thickness adds mass, which can help the board stay put, but it doesn’t guarantee stability by itself. A flat underside, a level counter, and sound construction matter too. The Bevel & Bond board is 1.75 inches thick, a substantial profile that may suit cooks who want a fixed-feeling work surface; its size and weight are also less convenient to move than a thin prep board. For more on the balance, read this cutting board thickness guide.
Balance board weight with storage and handling
Before settling on a thick board, imagine carrying it from the counter to the sink when it is wet. The Bevel & Bond board weighs about 10 pounds, so it is substantial but not a small board you can casually tuck into a drawer. Check whether it fits your storage spot and whether you can lift it comfortably. The right size is the one you’ll keep within reach and use safely.
How do you keep the board steady while you chop?
A board that shifts under a cleaver is a safety problem, not a minor annoyance. Start with a broad, flat base, then add a nonslip layer if the counter or board needs help staying put. The trade-off is that feet can make a board harder to flip or store flat, so consider how you use both faces.
Look for a broad, flat base
A wide base spreads the board’s weight over more of the counter and gives you a stable place to work. Set the board on a level surface and press gently at its corners before use. If it rocks without pressure, don’t try to solve the problem by chopping more carefully; fix the setup or choose a sounder board.
Add a damp towel or nonslip mat when needed
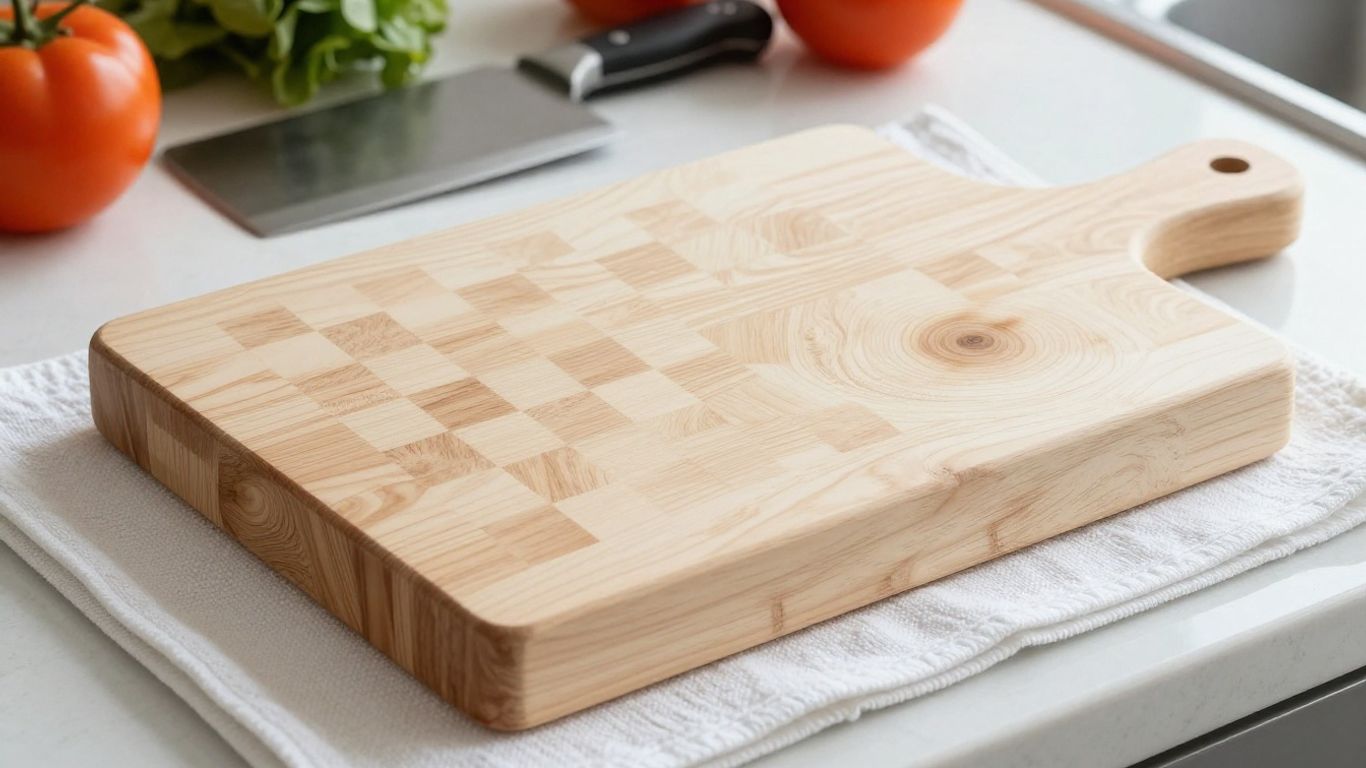
A thin damp towel beneath the board can add grip on a smooth counter. A washable nonslip mat is another option, especially if you move the board often. Keep the layer flat so it doesn’t create a new wobble, and make sure it stays clean and dry between uses. For a quick setup check, look at these four points:
- Clear the counter of crumbs and droplets.
- Lay the towel or mat flat, without folded edges.
- Set the board down and test all four corners.
- Reposition the setup if the board shifts under light pressure.
That small check takes less time than chasing a moving board around mid-prep. If the board still rocks, inspect its underside and the counter before reaching for the cleaver.
Check that the board does not rock on your counter
Press down lightly at each corner, then apply gentle side-to-side pressure. A board that stays level during this check is more predictable than one that teeters. Repeat the test after adding a towel or mat, since an uneven layer can undo an otherwise stable base.
How do you protect the cleaver edge and board surface?
Use enough force to make a clean cut, not enough to turn every stroke into a test of the board. Controlled movement helps you protect both the blade and the surface, especially during repetitive prep. For a broader view of board options and everyday chopping, browse this cutting board overview.
Use controlled strokes instead of excessive force
Let the cleaver’s weight do part of the work, and keep your off hand clear of the blade’s path. If an ingredient resists, adjust your position or make a smaller cut rather than swinging harder. Heavy blows can leave deeper marks and may put unnecessary stress on the edge.
Keep the blade angle consistent
A consistent angle makes each stroke easier to predict and helps avoid scraping the edge sideways across the board. Lift the blade cleanly between cuts instead of twisting it against the surface. Knife angle affects wear, so board wear and blade angle is worth a read if you’re changing your technique.
Watch for deep cuts, cracks, or loose joints
Small knife marks are ordinary signs of use. Deep splits, open glue joints, loose blocks, and cracks that collect food are different: stop using the board for chopping until you’ve assessed the damage. A compromised surface can make the blade land unpredictably, and a loose section may worsen with impact. Don’t keep using a board simply because it was expensive.
How do you clean and maintain the board after use?
Clean a wood board promptly with mild soap and warm water, then dry it upright so air can reach both faces. Never soak it or put it in the dishwasher. Oiling helps maintain the wood as it dries, but no finish replaces routine washing and inspection.
Wash promptly and dry both faces
Remove food scraps, wash the board by hand, and dry it with a clean towel before standing it upright to finish drying. Don’t leave it sitting in a wet sink or flat on a damp counter. Wash both faces even if you used only one, so moisture isn’t concentrated on a single side.
Reapply food-safe oil as the wood dries
When the wood looks dry or feels rough, apply food-grade mineral oil to both faces and let it soak in before wiping away any excess. A monthly routine is a reasonable starting point, with more frequent oiling if the board dries quickly. Avoid olive oil and vegetable oil, which can become rancid. If you want the detailed process, follow this new-board seasoning guide.
Know when a board needs repair or replacement
A board may need professional repair if a joint opens or a crack develops; don’t assume oil will close structural damage. Replace it if the surface can no longer be cleaned properly or if loose sections make chopping unsafe. Keep checking it as part of normal cleanup, particularly after hard impact. Regular care is plain work, but it is less trouble than discovering a problem halfway through dinner.
Choosing an end-grain cutting board for cleaver work
Choose an end-grain board for the cleaver work you actually do: everyday vegetables and boneless meat are different from repeated bone chopping. A sound build, ample working room, a stable setup, and basic hand-washing and oiling habits will help you use the board with more confidence. When the job involves heavy impact, let the intended use of the board guide your choice.
Best for
- Everyday chopping: a sturdy end-grain board.
- Heavy bone work: a surface designed for that impact, used with extra care.
- A dense, light-colored board: hard maple.
- A warmer color and a somewhat softer feel: cherry.
Frequently Asked Questions
Is an end-grain board suitable for a cleaver?
It can suit routine chopping of vegetables and boneless meat. For repeated heavy bone work, choose a surface explicitly intended for that impact rather than assuming a general-purpose board will handle it.
What thickness should a cleaver board be?
A thicker board adds mass, but thickness alone does not make it stable. Consider the board’s construction, base, counter surface, and how comfortably you can move and store it.
Is hard maple a good wood for a cleaver board?
Hard maple is a common cutting-board hardwood. Look for tight construction and a smooth food-prep finish, and match your chopping technique to the board’s intended use.
Does end grain prevent knife marks?
No. End grain can help make cut marks less conspicuous, but repeated chopping can still mark or damage the surface. Inspect the board and maintain it regularly.
How do I stop a cutting board from sliding?
Start with a clean, level counter and a flat board base. If it still shifts, place a flat damp towel or nonslip mat underneath and test for movement before chopping.
How often should I oil a wooden cutting board?
About once a month is a useful starting point, though a board that looks dry may need attention sooner. Use food-grade mineral oil and apply it to both faces.
Can I put an end-grain board in the dishwasher?
No. Hand wash with mild soap and warm water, dry both faces, and let the board finish drying upright. Avoid soaking it or leaving it in standing water.
What should you do next?
- Decide what you will cut most: vegetables, boneless meat, or bone-in pieces.
- Choose a size and thickness that stays steady under your chopping force.
- Set a damp towel or non-slip mat under the board.
- Compare blade shapes for vegetable work in nakiri vs santoku.
- After raw meat, wash and sanitize the board as described in the two-minute board reset.
SEE AN EXAMPLE