END-GRAIN GUIDES
How to Choose an End Grain Cutting Board for a Two Cook Kitchen
Choose an end grain cutting board for a two cook kitchen by balancing counter space, stability, workflow, and care.
The short answer
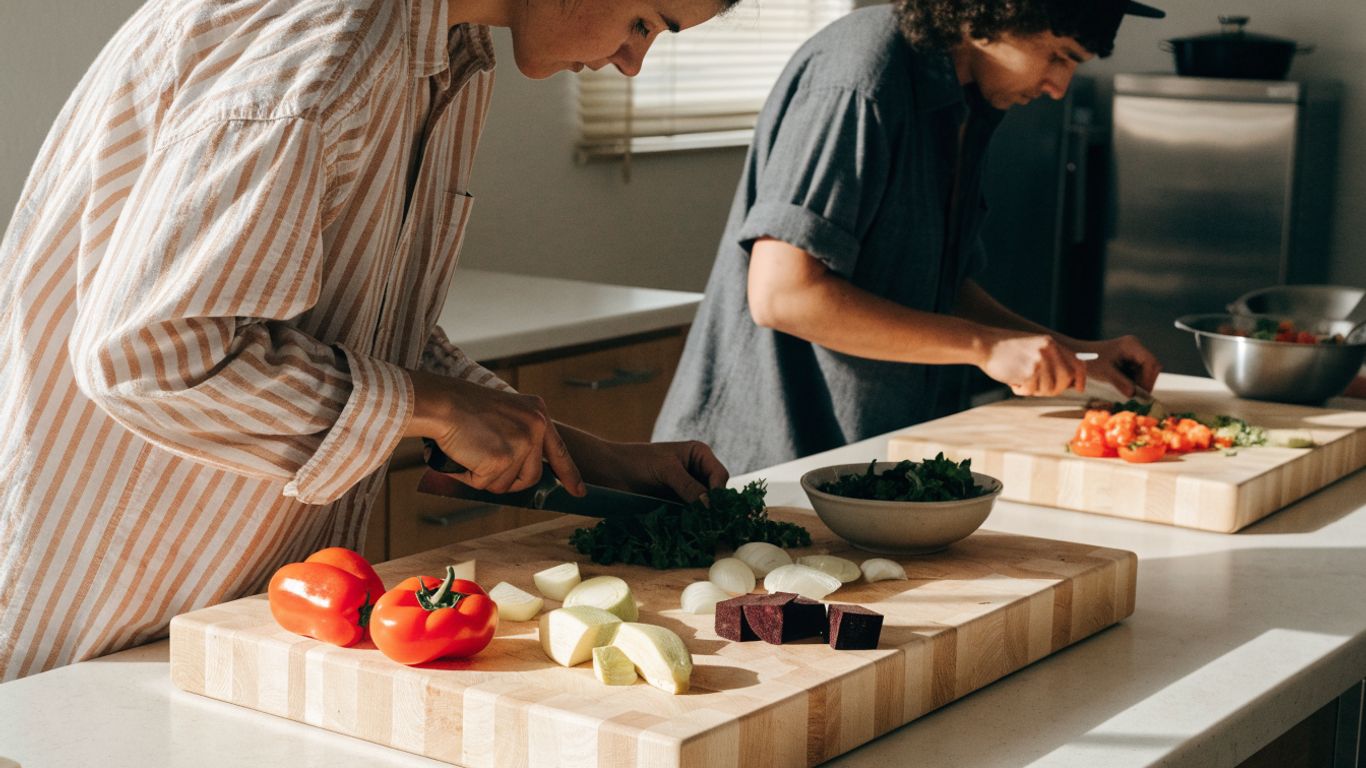
A good end grain cutting board for a two cook kitchen gives both cooks room to work without turning the counter into an obstacle course. Choose for your usable space and the way you actually prep, not just the largest surface you can fit.
- Measure the counter area that stays clear during cooking.
- Use one large board or two smaller ones based on your tasks.
- Give each cook a defined knife-work zone and a clear path.
- Choose weight and features that you can handle comfortably.
- Wash, dry, and condition the board as part of the shared routine.
How does two-cook prep change your board needs?
For two cooks, the best board setup is the one that gives each person a clear place to work and a safe way to pass ingredients. More surface area helps, but only if it does not crowd the sink, stove, or the other cook. Agree on where raw ingredients, scraps, and ready-to-cook food will go before knives are moving.
Make room for simultaneous tasks without crowding
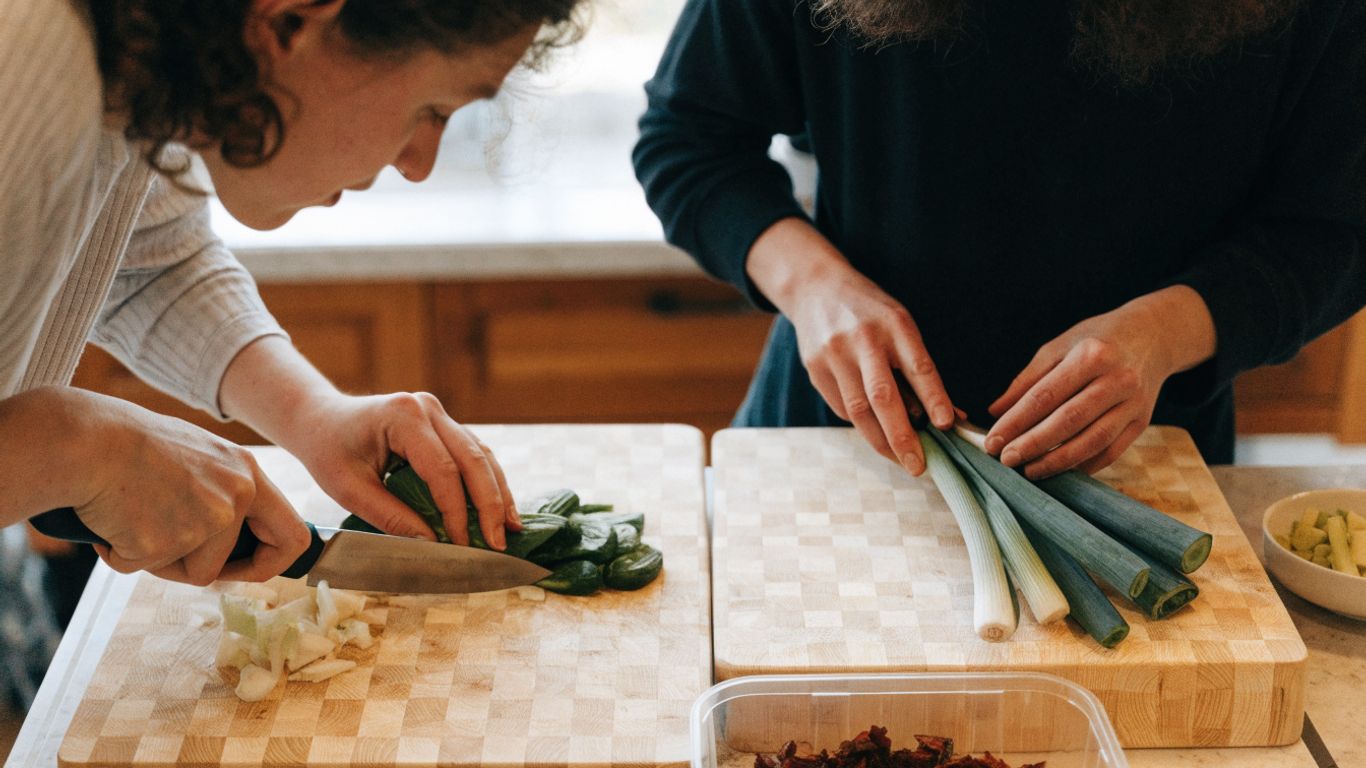
When you both need a knife at the same time, a board should have enough room for the current task and a small landing area for prepared ingredients. A large board can work well for one shared task, such as chopping vegetables for a stew. If one person is trimming chicken while the other slices produce, two boards may make a better boundary between tasks. The trade-off is that extra boards take up counter and drying space.
Keep each cook’s knife work in a clear zone
Set a simple rule: each cook keeps their hands, knife, and ingredients within their own zone. That leaves fewer surprises when someone reaches for a bowl or turns to the stove. A board’s grain direction does not need to match a particular cook’s handedness; counter layout and the path of the knife matter more. For a closer look at that question, see this guide to choosing a board for a left-handed cook.
Plan for passing ingredients and finished food safely
Decide where chopped ingredients go before prep starts. A bowl or rimmed tray beside each board gives you a place to move food without reaching over another person’s knife. Keep finished ingredients separate from scraps, and use a clean plate or container when moving ready-to-cook food. That small bit of planning is less exciting than chopping, but it prevents a lot of mid-recipe shuffling.
What size fits your counter and workflow?
Measure the space you can actually use, then choose the largest board that still leaves room to work around it. Two cooks do not automatically need one oversized board. A medium board for each person can make separate tasks simpler, while one larger board keeps a shared task together.
Measure usable counter space, not just the countertop
Measure the clear area between the sink, stove, backsplash, and anything that stays on the counter. Include the room your hands need to move a knife and the space a mixing bowl takes beside the board. A board that fits on paper may still block a drawer or leave nowhere to set a hot pan. This small-kitchen maple board size guide offers another way to think about footprint and storage.
Compare one large board with two smaller work surfaces
The choice is easiest when you match it to the cooking you do most. These are workflow trade-offs, not fixed size rules; measure your own counter before choosing.
| Setup | Works well for | Main trade-off |
|---|---|---|
| One large board | Shared chopping and gathering ingredients | Uses one broad stretch of counter |
| Two medium boards | Separate tasks or ingredients | Needs space for both boards and bowls |
| One medium board plus a small board | A main task and quick secondary prep | The smaller surface fills quickly |
If you usually cook one recipe together, one board can keep ingredients in a single place. For meals with separate prep jobs, two surfaces make it easier to keep tasks apart. A guide to board dimensions for different kitchen tasks can help you compare the footprint against your routine.
Leave room for ingredient bowls, trays, and appliance handles
A board is only useful if you can set down what you cut. Leave a clear strip for a bowl or tray, and check that appliance handles and cabinet doors still open. If you are considering a 17-by-13-inch board, for example, measure the full rectangle and the approach space around it. The Bevel & Bond End-Grain Maple Cutting Board measures 17 by 13 inches, so those measurements are a practical reference point, not a promise that it will fit every counter.
How do you set up two practical prep stations?
A workable two-person setup does not need matching boards or a complicated system. Give each cook a task, a surface, and a place for prepared ingredients. Then position the stations so neither person has to reach across the other’s knife work.
Divide tasks by ingredient or cooking step
One person might wash and chop vegetables while the other handles bread, herbs, or cooked ingredients. If raw meat is part of the meal, assign it a separate board and keep it away from ready-to-eat food. You can also split the work by recipe stage: one cook trims and portions, while the other measures and gathers. Either arrangement works if both people know which ingredients belong where.
Position boards to avoid crossing arms and knife paths
Before you start, stand where each cook will work and check the reach between boards, bowls, and the sink. Place boards side by side only if each person can make a full cutting motion without bumping an elbow. An L-shaped setup can be more comfortable on a corner counter, while opposite sides of an island may give each cook a distinct approach. Leave a shared passing lane instead of making one person reach over a blade.
Keep scraps and prepared ingredients within easy reach
A small reset between tasks can keep both stations usable. Set out the few containers you need before cutting, rather than improvising once the counter is covered. A simple station might include:
- A bowl or tray for prepared ingredients.
- A separate container for peels and other scraps.
- A clean plate or container for food moving to the next step.
- A damp cloth for wiping the counter, kept away from the knife edge.
Keep the list modest; too many containers can take up more room than the food. When one task is finished, clear its scraps and return the shared lane to open space.
Which features reduce kitchen friction?
Choose a board that stays put but remains manageable for you to lift, wash, and store. In a shared kitchen, stability and handling matter as much as the cutting surface. Features help only when they suit your routine, so consider where the board will sit and who will move it.
Choose enough weight and stability for confident chopping
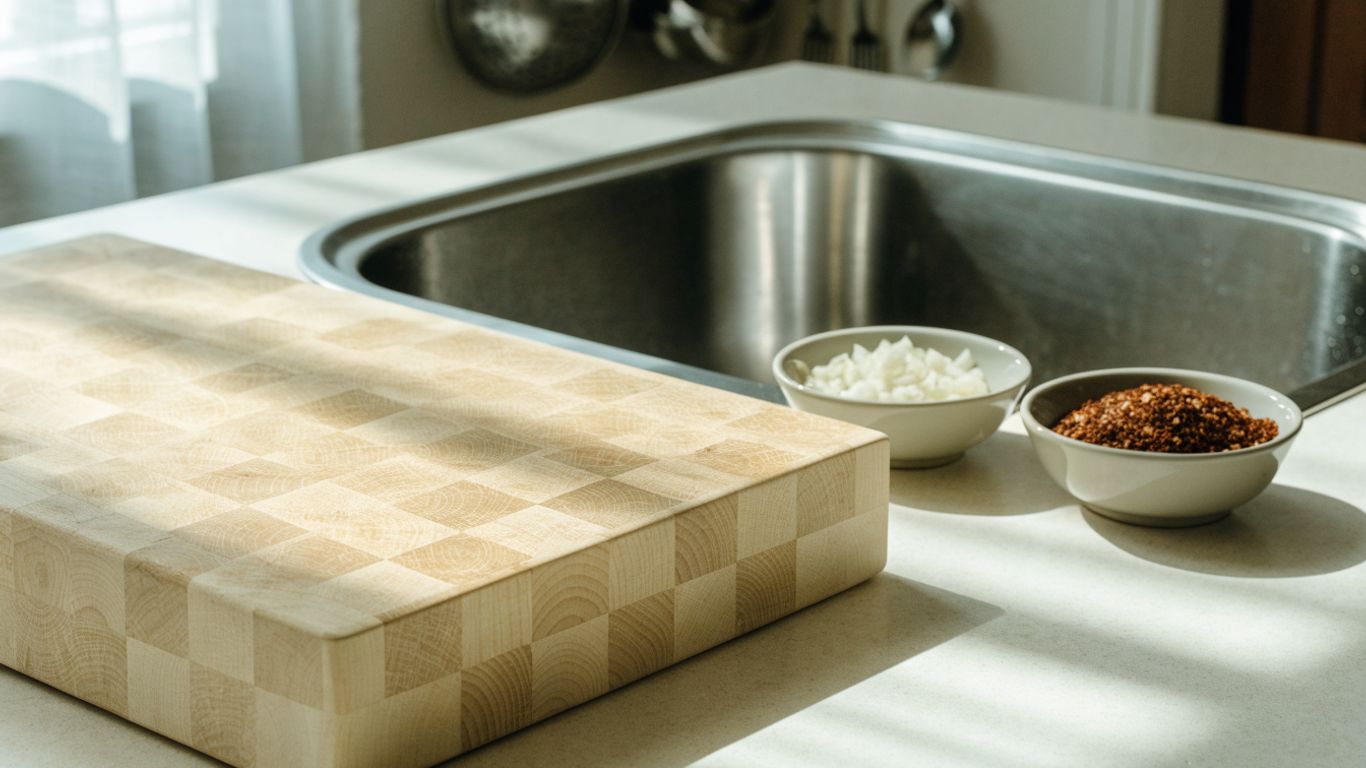
A heavier board can feel steady during chopping, but it also takes more effort to move and clean. Feet, a dry counter, and a board placed flat can all affect how secure the setup feels. The Bevel & Bond End-Grain Maple Cutting Board weighs about 10 pounds and has non-slip feet. If you are comparing boards, consider whether you can comfortably lift the one you choose, especially when it is wet.
Decide whether handles or a juice groove suit your routine
A juice groove may help contain liquid from juicy ingredients, but it takes up some usable surface and needs cleaning along its channel. Finger grips can make a board easier to lift; handles are another feature to assess against your counter and storage space. The Bevel & Bond board has a juice groove and finger grips. For other boards, decide whether those details solve a task you often have or simply add more edges to clean.
Check that the board is manageable to lift and clean
Think through the entire trip from counter to sink and back to storage. A thick, heavy board may stay stable but can be awkward if you need to move it alone. The right thickness for an end-grain maple board depends partly on that balance between stability, weight, and handling. If two people share the kitchen, agree on where the board dries so it does not become a permanent sink-side resident.
How should construction match daily use?
End grain is a practical choice if you chop frequently and want a wood surface made for repeated knife work. The cut ends of the wood form the working face, creating a block pattern; species, construction, finish, and upkeep still matter. The trade-off is that an end-grain board can be heavier and needs routine care.
Understand what end grain offers under frequent knife work
On an end-grain surface, the wood fibers face upward rather than running along the length of the board. Many cooks like the feel under the knife, especially for regular chopping. It is not a substitute for a sharp knife or careful technique, and the board still needs to be cleaned and dried properly. Compare the construction styles in this overview of end grain and edge grain.
Consider wood species, finish, and visible build quality
Look for a smooth, even surface and joints that appear consistent, without rough edges or obvious gaps. Wood species affect hardness and appearance, while a finish should be appropriate for a surface used with food. The Bevel & Bond board is made from North American hard maple, but if you are comparing other boards, check their materials and care guidance rather than assuming all wood behaves the same way. A close visual check cannot tell you everything about construction, but it can flag a board that needs more questions before purchase.
Balance board thickness and durability with everyday handling
More thickness can add weight and a planted feel, but it also changes how easy a board is to move and store. Consider the shelf, cabinet, or counter spot where the board will live, not just how it feels during chopping. For two cooks, a board that one person avoids lifting is not a useful shared choice. Keep your usual storage and cleaning routine in view as you compare dimensions.
How do you share cleaning and care?
Agree on a basic cleaning routine before the board becomes a point of kitchen friction. Wash it promptly after use, dry it fully, and do not leave it soaking in the sink. That routine is simple, but it only works if both cooks follow it.
Reset the surface between ingredients and prep tasks
Clear scraps and move prepared ingredients to clean containers before starting the next task. Wash the board between ingredients when needed, particularly when changing from raw animal products to ready-to-eat foods. USDA food-safety guidance recommends keeping raw foods separate from foods that are ready to eat; a separate board is a straightforward way to keep the work distinct. A quick board reset between prep tasks can make the next step easier.
Wash promptly and dry the board fully between uses
Use mild soap and warm water, then dry the board upright so air can reach both sides. Do not soak it or put it in a dishwasher. If two cooks have both used the board, decide who handles the wash and who clears the surrounding station. That is less about ceremony than preventing a damp board from being forgotten under a pile of dishes.
Agree on a simple routine for conditioning and storage
Condition the board about once a month with food-grade mineral oil or a suitable board conditioner, following the product directions. Avoid olive and vegetable oils for this purpose. Store the board where it can dry fully between uses, and make sure both cooks know where it belongs. The best routine is the one you can repeat without a calendar reminder becoming another kitchen chore.
Choosing an end-grain cutting board for a two-cook kitchen
For two cooks, a good end-grain board is not simply the biggest one you can buy. Measure the working space, decide whether your meals call for one shared surface or two separate stations, and choose a board that both cooks can move and care for. A clear layout and a consistent reset routine will do more for a calm prep session than adding another inch of board in the wrong place.
Best for
- Shared chopping and gathering: one large board, if you have a broad stretch of counter.
- Separate tasks or ingredients: two medium boards, with room for both boards and bowls.
- A main task plus quick side prep: one medium board and one small board.
Frequently Asked Questions
Is one large cutting board enough for two-cooks?
It can be, especially when you are working on the same recipe or task. If you regularly prep separate ingredients at once, two smaller boards may give each person a clearer zone.
What size cutting board works for a two-cook kitchen?
There is no single best size. Measure the clear counter area, account for bowls and movement, and choose a board setup that leaves a safe path around both cooks.
Are two cutting boards better than one?
Two boards make it easier to separate tasks and ingredients, but they require more counter, washing, and storage space. Choose based on your usual meal prep rather than the occasional crowded dinner.
Can two-cooks use the same board for raw meat and vegetables?
Use separate boards, or wash the board thoroughly between tasks and keep raw ingredients apart from ready-to-eat food. Separate surfaces make the distinction easier to maintain.
Does end grain protect a knife from becoming dull?
End grain is often chosen for its feel under frequent knife work, but no board keeps a knife sharp on its own. Knife condition and cutting technique still matter.
Should a shared cutting board have a juice groove?
A groove may help contain liquid from juicy ingredients, but it reduces some flat cutting area and takes extra cleaning. It is useful if that matches the food you prepare often.
How should you clean and store a wood cutting board?
Wash with mild soap and warm water, dry it upright, and never soak it or put it in a dishwasher. Condition it about monthly with food-grade mineral oil or board conditioner, and store it where it can dry fully.
What should you do next?
- Measure the usable counter space for each cook.
- Decide which tasks each person usually handles.
- Agree on who cleans, dries, and oils the board, and when.
- Plan the order of work with mise en place for a dinner party.
- Keep shared boards dry between tasks using the two-minute board reset.
SEE AN EXAMPLE