END-GRAIN GUIDES
End Grain Cutting Board for Chopping Nuts and Chocolate: What to Look For
Choose an end grain cutting board for chopping nuts and chocolate by size, stability, surface, and care.
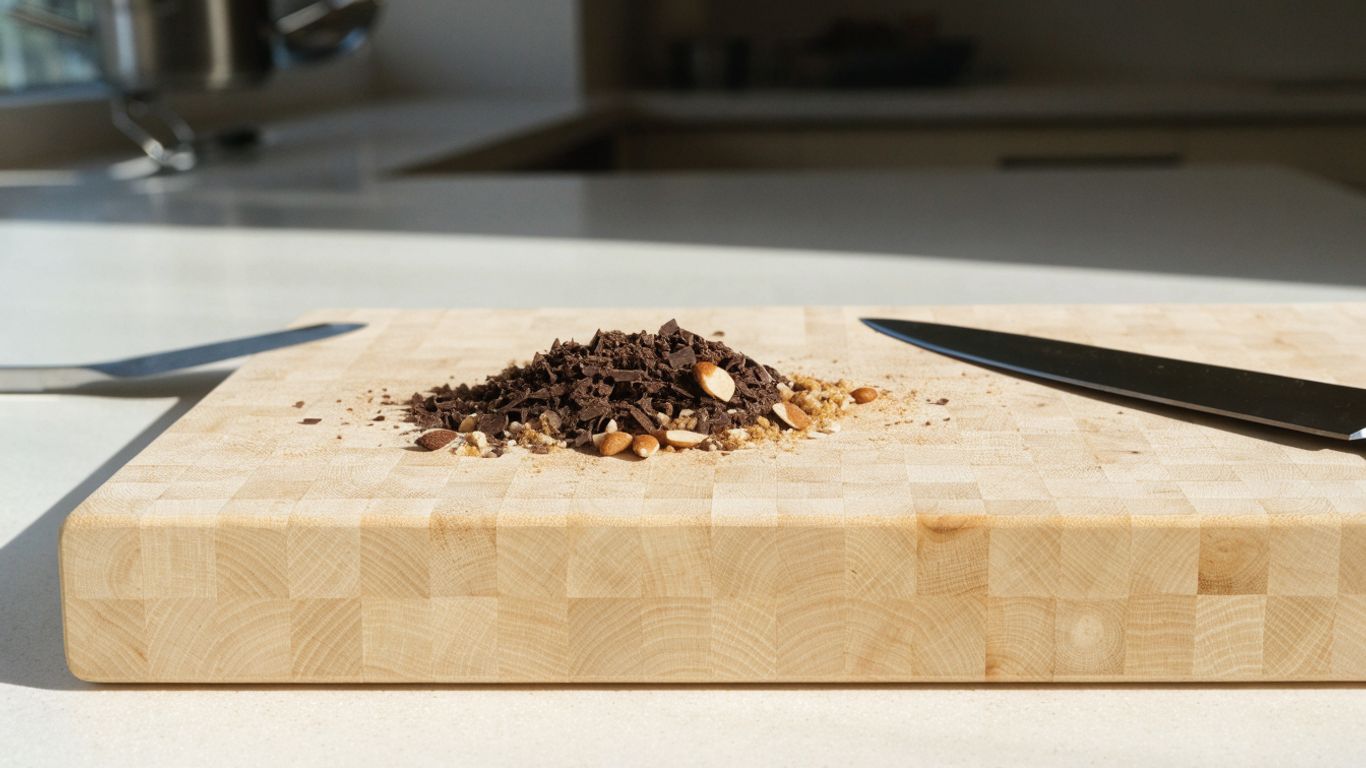
An end grain cutting board for chopping nuts and chocolate gives you a forgiving wood surface and a solid place to work. Choose one with enough flat space to contain a small pile, but remember that grain orientation alone will not keep pieces from scattering.
The short answer
End grain can be a comfortable surface for repeated chopping, but size, stability, and technique matter just as much.
- Choose enough flat area to chop and gather ingredients.
- A heavier board may stay put more easily, but can be harder to lift and store.
- Juice grooves do little to contain dry crumbs.
- Use a scraper to move chopped pieces without dragging a knife edge across the wood.
- Wash by hand, dry upright, and oil periodically as needed.
Why does end grain suit nuts and chocolate?
End grain is a practical choice for frequent chopping because the exposed wood fibers meet the blade differently from a lengthwise-grain surface. It can feel less harsh under the knife, though it will not stop small pieces from bouncing away. The best fit depends on your knife habits and how much space you want around the ingredients.
How the board’s surface responds to repeated chopping
In an end-grain board, the wood’s growth rings and fibers face upward, so the knife meets the ends of the fibers. That orientation is one reason cooks often describe the surface as forgiving during repeated cuts. It is not a soft pad, and a hard swing can still leave marks; clean, controlled cuts are kinder to both board and blade. For a closer look at end grain and edge grain, compare how the fibers meet the knife on each construction.
When a softer landing helps protect knife edges
A board that gives slightly under a cut can make repeated chopping feel less jarring than working on a very hard surface. That is useful when you are finely chopping a handful of nuts or breaking chocolate into smaller pieces. Still, a board does not keep a knife sharp by itself: the blade’s condition, cutting angle, and force all matter. A guide to cutting board materials can help put wood’s knife feel in context with other common surfaces.
What end grain does not do to prevent slipping or mess
End grain is not a non-slip treatment, and it does not corral crumbs. A board can shift if the counter is slick, while nuts and chocolate fragments can scatter if you chop too quickly or start with oversized pieces. Put a damp, wrung-out towel beneath the board if it needs help staying in place, and work with a rim of clear space around the pile.
What size and weight fit your prep?
For nuts and chocolate, a board should have enough room for the ingredient pile and a place to gather the finished pieces. More surface area is useful, but a larger or thicker board takes more counter and storage space. Think through the whole routine, including lifting it out, chopping, scraping, and putting it away.
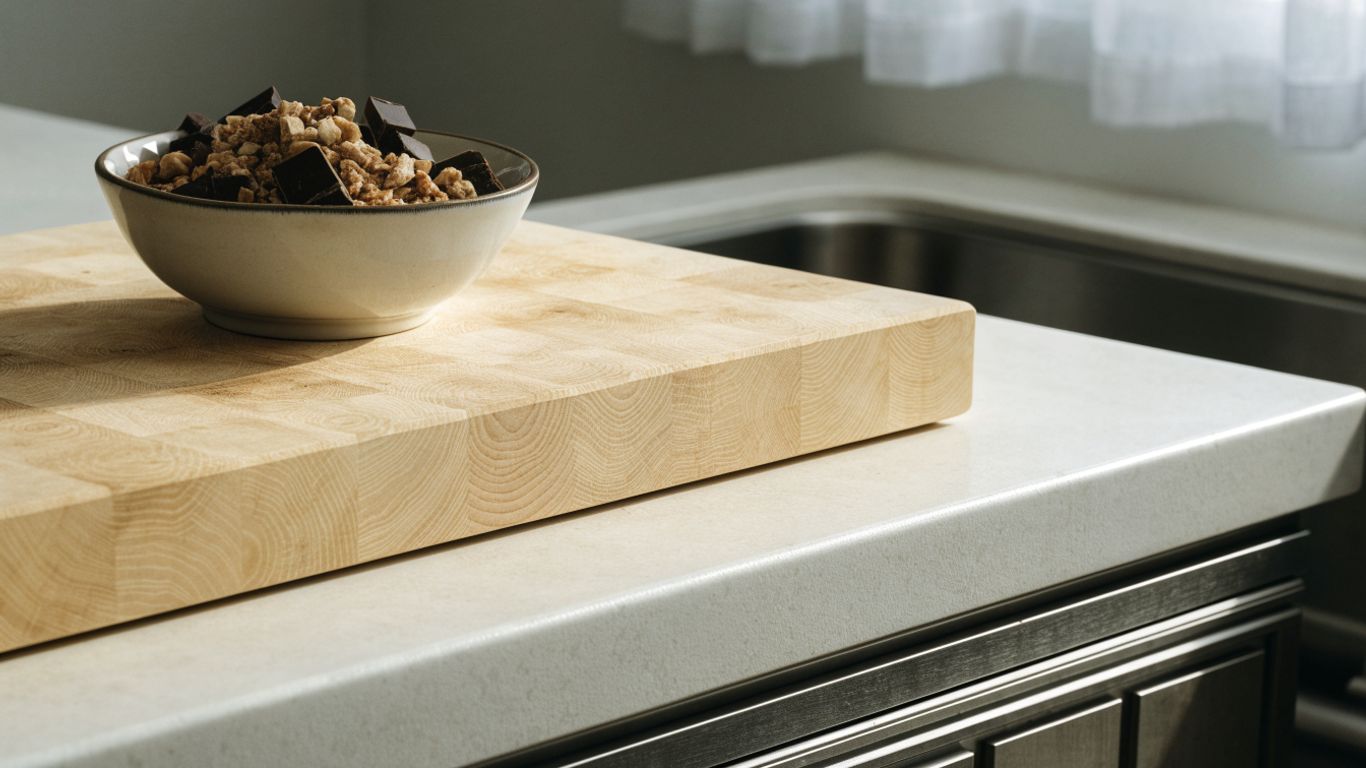
Leave room to gather ingredients without crowding
If the chopping area is too tight, fragments land on the counter and there is nowhere to sweep the finished pieces. A useful way to judge dimensions is to imagine the ingredient pile, your knife’s working space, and a small staging area together. A 16 × 12-inch board is one commonly discussed balance for a smaller kitchen; the small-kitchen maple board size guide covers the trade-offs in more detail.
Balance a stable work surface with easy lifting
Thickness and weight can help a board feel planted, though a heavy board is less pleasant to move one-handed. Consider how often you will lift it from a cabinet and whether you can leave it on the counter. For a sense of how these choices change the work area, compare a few common prep scenarios:
| Prep routine | Useful surface consideration | Practical trade-off |
|---|---|---|
| A few ounces of nuts | Space for a small pile and knife strokes | Compact boards store easily |
| A chocolate bar for baking | Room to break and chop pieces | A wider surface helps collect shards |
| Several ingredients at once | Separate chopping and gathering zones | More counter space is occupied |
The dimensions that work are the ones that leave room for your hands and ingredients without turning storage into a chore. A documented example is the Bevel & Bond end-grain maple board End-Grain Maple Cutting Board, listed at 17 × 13 inches, 1.75 inches thick, and about 10 pounds. This site is published by the team behind Bevel & Bond.
Check counter and storage space before buying
Measure the spot where you expect to chop, then check the cabinet or shelf where the board will live. Include room to lift it out without catching a handle or knocking into another pan. A board that is easy to reach tends to be more useful than one that looks generous but has to be wrestled into storage.
Which details make small-ingredient prep easier?
For nuts and chocolate, a broad, flat work surface is more useful than a collection of features. Feet can help a board stay in place, while a groove is meant to catch liquid rather than dry fragments. Decide which details support your routine, and do not mistake a feature for a substitute for careful knife work.
Use a flat surface for chopping and scraping
A flat, even cutting area makes it easier to keep your knife strokes controlled and to sweep the finished pile together. Check that the work surface has no obvious rocking or uneven spots when the board sits on the counter. A flat area also makes cleanup simpler, since crumbs are less likely to collect in a depression.
Consider a juice groove’s limits with dry ingredients
A juice groove can be useful when you are handling foods that release liquid, but it is not a crumb channel. Small dry pieces may lodge in it, making them harder to gather with a scraper. A groove takes up some perimeter space too, so consider whether that edge feature is useful for the other tasks you do on the board.
The 17 × 13-inch Bevel & Bond End-Grain Maple Cutting Board listing includes a juice groove and non-slip feet. Those are specific features of that board, not a reason to expect every end-grain board to have them. For this particular task, the flat working area remains the main consideration.
Check for feet, handles, and a reversible work surface
Feet can provide clearance beneath the board and may help it stay put; handles or finger grips can make lifting easier. A reversible surface can give you another usable side, provided both sides are kept clean and cared for. Before choosing, consider whether those conveniences matter more than keeping the board light and simple.
How do you chop nuts and chocolate with less scattering?
A steady pace and a small starting pile usually make a bigger difference to scattering than the board’s grain direction. Begin with pieces you can control, then chop in batches rather than chasing fragments across the surface. A scraper is useful for gathering the results without putting sideways pressure on the knife edge.
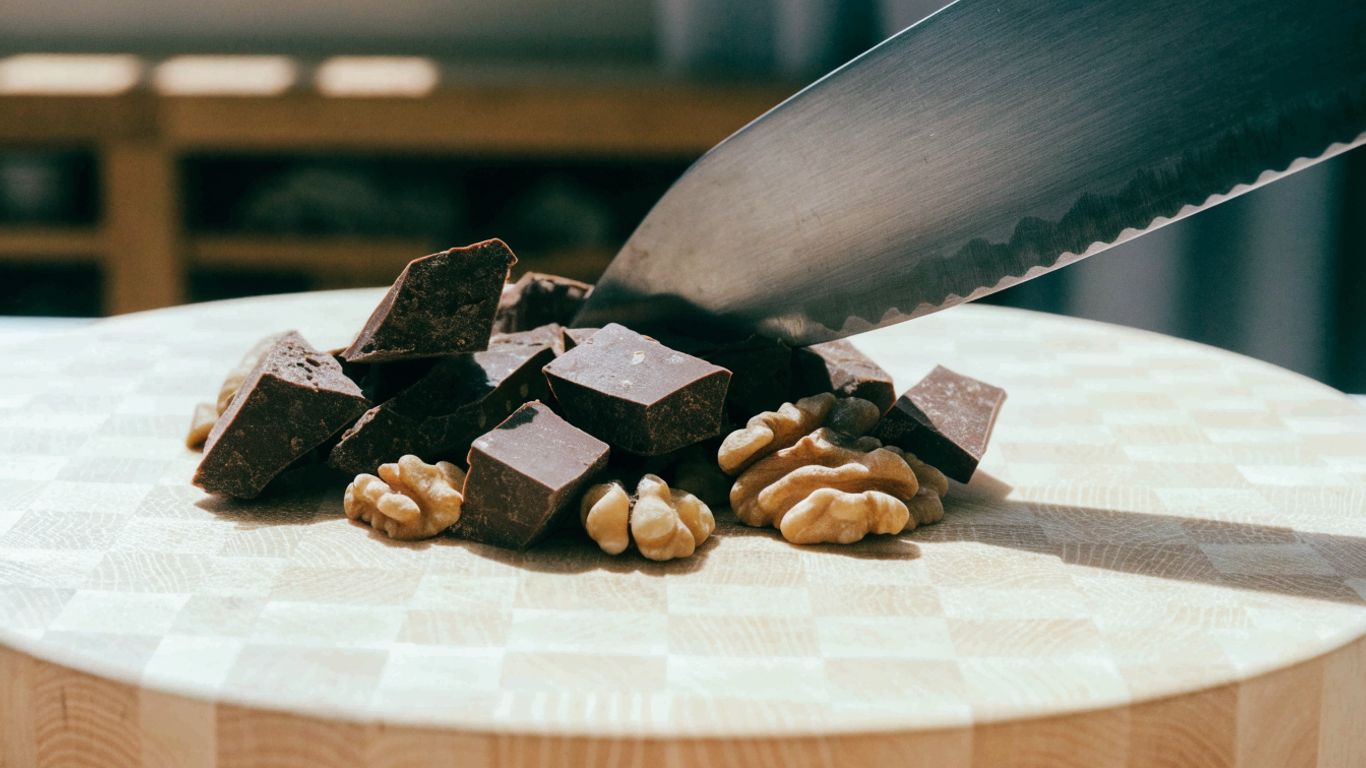
Start with dry, evenly sized pieces
Dry ingredients are easier to handle when they start in roughly similar sizes. Break a chocolate bar into a few pieces first, and remove any loose packaging or crumbs from the work area. For nuts, work with a manageable handful rather than covering the board; smaller batches are easier to keep under the blade.
Use a chef’s knife or bench scraper for controlled chopping
A sharp chef’s knife gives you a familiar, controlled edge for chopping, while a bench scraper can help hold ingredients together between passes. Keep the tip or cutting edge in control and use deliberate strokes instead of striking hard. A short sequence keeps the pile tidy:
- Place a small amount of ingredient near the center of the board.
- Chop from one side toward the other, keeping the blade close to the pile.
- Pause to pull escaped pieces back in with a scraper.
- Stop when the pieces reach the size your recipe calls for.
The point is not speed; it is keeping the blade and ingredients in a predictable area. If the pieces are still too large, make another controlled pass rather than increasing the force.
Gather fragments with a scraper instead of the knife edge
When the pieces are chopped, use a bench scraper to collect them into a compact pile or transfer them to a bowl. A knife edge dragged sideways can take unnecessary wear, and the pieces may slide away before you reach the bowl. A scraper also lets you scoop up the small fragments that tend to linger after the larger pieces are gone.
How do you clean the board after sticky or oily ingredients?
Clean the board soon after chopping, before chocolate warms and smears or nut oils sit on the surface. Hand washing with mild soap and warm water is a straightforward routine; soaking and dishwasher cleaning are not appropriate for a wood board. Dry it upright, with air able to reach both sides.
Brush away crumbs before washing
Start by sweeping loose crumbs into the compost or trash, or gathering them with a scraper. That keeps dry bits from turning into a paste as soon as water hits the surface. Then wash the board by hand with mild soap and warm water, rinse it, and dry it upright rather than leaving it flat and wet.
Remove chocolate residue without soaking the wood
If chocolate leaves a smear, use a damp cloth or the soft side of a sponge with warm, soapy water. Avoid leaving the board submerged or sitting in a sink, even when residue seems stubborn. A little patience and a second wipe are safer than a long soak.
Address nut oils before they leave a lingering smell
Nut oils can remain on the surface after the visible crumbs are gone. Wash promptly and let the board dry fully; if it needs routine conditioning, use food-grade mineral oil or a board conditioner made for wood. Apply conditioner about once a month as needed, and skip olive or vegetable oil, which is not the right choice for board care.
How do you choose a board built for everyday use?
A good everyday board is more than a wood species: construction, flatness, finish, and care needs all count. Hard maple is a common choice for a firm, practical chopping surface, but every board still needs sensible cleaning and maintenance. Inspect the details you can see and make sure its size and weight suit your actual kitchen.
Compare wood species, construction, and finish
Different woods vary in hardness, grain, and appearance, so it is worth checking what a listing says rather than assuming all wood boards behave alike. End grain describes the orientation of the wood at the cutting surface, not a particular species. A useful comparison of cherry and hard maple boards can help you weigh wood choice alongside construction.
Inspect joints, surface flatness, and overall build quality
Look for even seams, a level surface, and a finish that is described clearly for food-contact use. The Bevel & Bond End-Grain Maple Cutting Board is described as crafted in Oregon from solid US-grown hard maple and includes a five-year limited warranty. Those are listing details for that specific board, not a promise about every board built from maple.
Weigh maintenance needs against the board’s expected use
A wood board rewards regular, uncomplicated care, but it is not maintenance-free. Wash by hand, avoid soaking, dry upright, and condition periodically with food-grade mineral oil or an appropriate board balm. If you expect to chop nuts or chocolate only now and then, a heavy board may be more board than you need; if it will stay on the counter for daily prep, the weight may feel like a fair trade.
Choosing an end-grain cutting board for chopping nuts and chocolate
For chopping nuts and chocolate, choose an end-grain board for its comfortable cutting feel, then judge the purchase by the flat workspace, stability, weight, and care routine. A generous surface and a scraper will do more to keep small pieces under control than grain orientation alone.
Best for
- A few ounces of nuts: a compact board that stores easily.
- Chocolate bars for baking: a wider surface that helps collect shards.
- Several ingredients at once: a larger board with separate chopping and gathering zones.
Frequently Asked Questions
Is end grain a good surface for chopping nuts?
Yes. It is a practical wood surface for repeated chopping, though it does not prevent fragments from scattering or replace a sharp, well-controlled knife.
Does end grain keep chocolate from sticking?
No. Chocolate can soften and smear on any work surface, so chop it while it is cool and clean residue promptly without soaking the board.
What size board works for chopping small ingredients?
Choose a size that leaves room for the ingredient pile, knife strokes, and a spot to gather the finished pieces. Also measure your counter and storage space before buying.
Do I need a juice groove for nuts and chocolate?
Not for these dry ingredients. A groove is intended to catch liquid, and small fragments may collect there instead of being easy to sweep up.
How can I stop the board from sliding?
Set it on a clean, dry counter. If it still moves, place a damp, wrung-out towel beneath it and check that the board rests evenly.
How should I clean a wood board after chopping nuts?
Brush or scrape away crumbs, wash by hand with mild soap and warm water, and dry the board upright. Do not soak it or put it in the dishwasher.
How often should I condition a wood cutting board?
Condition it about once a month as needed with food-grade mineral oil or a board conditioner intended for wood. Avoid olive and vegetable oils.
What should you do next?
- Note how much you usually chop at once.
- Measure the counter space you can give the board.
- Keep a bench scraper nearby to gather pieces without using the knife edge.
- For herbs and fine, loose chopping, read how to use a mezzaluna.
- Clean sticky or oily residue promptly, following the two-minute board reset.
SEE AN EXAMPLE