END-GRAIN GUIDES
Choosing an edge grain maple board for a food truck: a practical guide
Choose an edge grain maple board for a food truck with practical sizing, sanitation, care, and food-code checks.
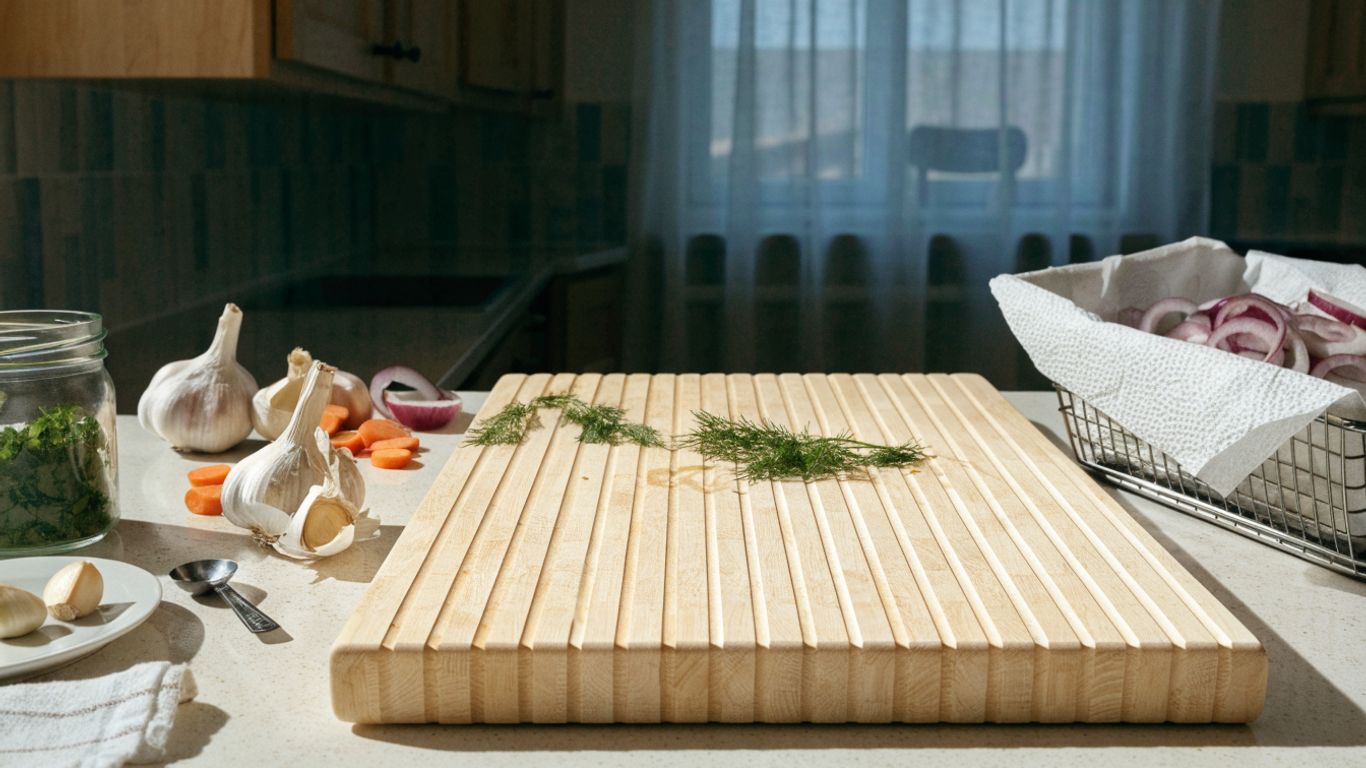
The short answer
An edge grain maple board for a food truck may be a practical choice, but local food-safety rules and the realities of a compact prep station should guide the purchase. Confirm what your jurisdiction allows, then choose a board you can clean, dry, and store reliably.
- Check local requirements before using a wood board for commercial food prep.
- Measure the prep counter and storage space, including clearance for carrying and drying.
- Look for sound edge-grain construction, a suitable finish, and a stable fit.
- Follow approved washing and sanitizing procedures, and keep raw and ready-to-eat prep separate.
- Dry the board fully, condition it as needed, and remove it from service if damage prevents proper cleaning.
What food-safety rules apply before you choose a board?
Hard maple and other qualifying close-grained woods may be allowed for cutting boards under versions of the FDA Food Code, but rules adopted by your local jurisdiction are what matter. Don’t assume that a wood board is either automatically permitted or automatically banned. Check before buying, and build your procedures around the requirements your operation must follow.
How local health codes treat wood cutting boards
The FDA Food Code is a model used by state and local authorities, not a universal permit for every board in every kitchen. Its provisions include an allowance for hard maple or an equivalently hard, close-grained wood for cutting boards, while local rules and interpretations can differ. This maple-board food-code guidance is a useful starting point, but your local health department has the final say for your truck.
When a board may be restricted to specific tasks
Your inspector may allow a wood board for some tasks but require other surfaces or procedures for particular foods or parts of your workflow. The answer can depend on your adopted code, equipment, and how you clean and sanitize between uses. Ask about the actual prep tasks you plan to do rather than relying on a general statement that wood is permitted.
What to confirm with your health inspector
Before you order, bring the board’s material, construction, and intended uses to the inspector. A few direct questions can keep a small purchase from becoming a storage problem or a service-day surprise:
- Is hard maple or another close-grained wood allowed in this operation?
- Are there restrictions on using it for raw meat, ready-to-eat food, or both?
- What cleaning, sanitizing, and drying procedure is expected?
- When must a scored or damaged board be resurfaced or discarded?
Write down the answers and make sure anyone handling prep can follow the same procedure. A board that is permitted still has to remain cleanable and fit the way your kitchen operates.
How to keep raw and ready-to-eat prep separate
A separate board for raw animal foods and ready-to-eat ingredients is a simple way to reduce the chance of cross-contamination. If space makes that difficult, ask your inspector what separation procedures are acceptable and make them clear to every worker. Color labels or a consistent storage arrangement can help people pick the right board during a rush.
What size and shape fit your truck’s prep station?
A board that fits your actual counter is more useful than one chosen by a kitchen-size rule of thumb. Measure both the working surface and the route the board must take to reach storage or a sink. Leave room for hands, utensils, and food containers, not just the board itself.
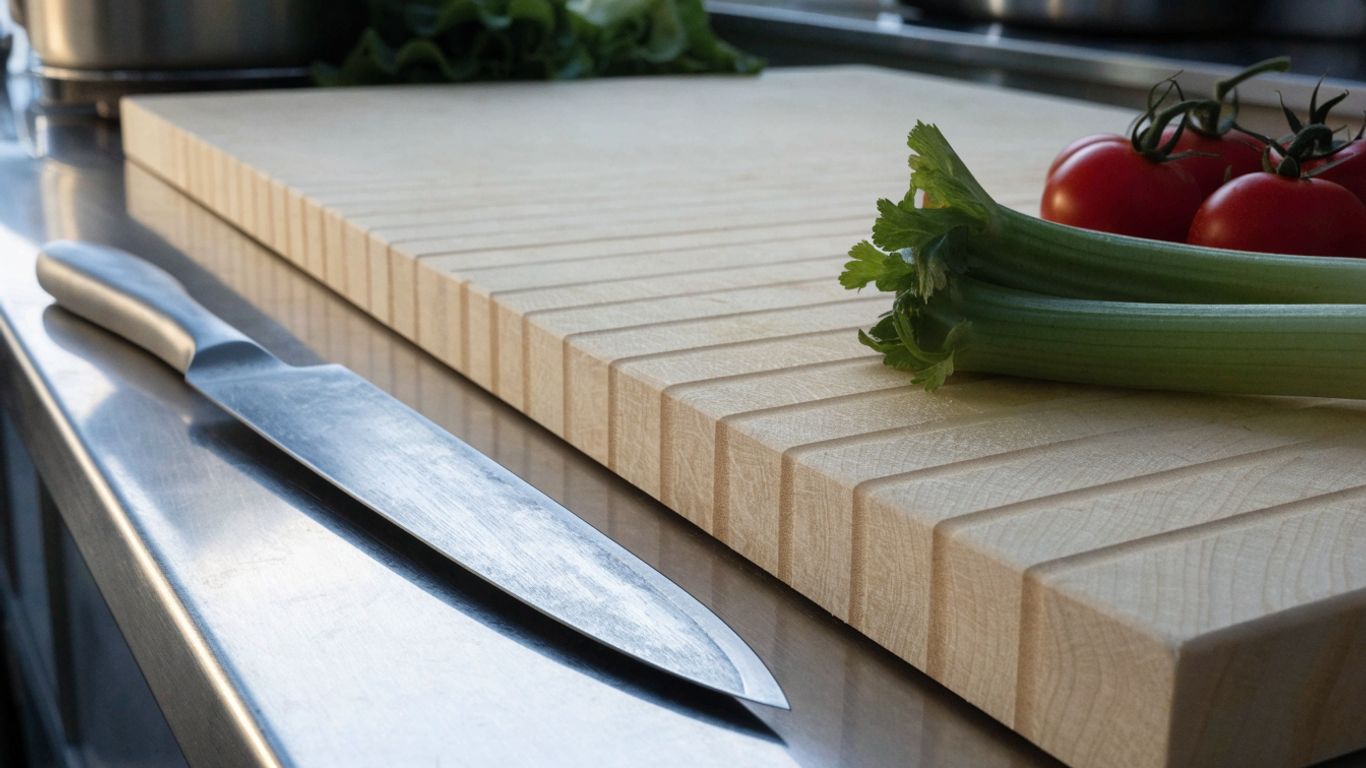
Measure counter space and storage clearance
Measure the usable counter area, then check cabinet openings, shelves, and any narrow passage the board must pass through. In a truck, a few inches can decide whether the board sits flat or crowds a sink or burner. A large edge-grain maple board checklist can help you think through dimensions, weight, finish, and care before choosing a size.
Choose a workable surface for your menu
Estimate the space you need for the busiest routine task, not only the easiest one. Dicing several ingredients in batches calls for a different working area than occasional garnish prep. A rectangular shape generally makes efficient use of a straight counter, while a board that extends into a traffic path can make service awkward.
Consider weight, handles, and carrying space
You may need to move the board between prep, washing, and storage many times in a shift. Weight matters, especially when the board is wet or your storage shelf is high. Handles can make carrying easier, but they also affect the board’s outline and the clearance needed to store it; check those details against your setup.
Keep the board stable on a moving vehicle
A food truck’s counter can be busy, cramped, and subject to movement, so test the board’s position before prep begins. Set it on a dry, level surface and check that it does not rock or slide when you apply ordinary knife pressure. A damp, folded towel underneath may help if your procedures permit it, but it should not interfere with sanitation or create a slipping hazard.
What does edge-grain maple offer?
Edge grain describes how the wood strips are oriented, with the long edges facing up to form the cutting surface. Maple is a common choice because hard maple is dense and close-grained, but construction quality and upkeep still matter. This style has practical trade-offs compared with plastic and end grain, so choose it for the way you work rather than its appearance alone.
How edge-grain construction handles routine prep
With edge grain, a knife meets the lengthwise grain of the wood. The surface is suited to routine chopping and slicing, though repeated cuts will leave marks over time. If you want a closer look at grain orientation and board construction, this guide to edge-grain vs face-grain cutting boards explains the difference in practical terms.
Why maple is a practical wood choice
Hard maple has a tight grain and a firm surface that can stand up to regular kitchen use when properly maintained. Make sure a board described as maple is actually made from the species and construction you intend to buy; names used loosely in listings can be unhelpful. For more context, hard maple and its close grain are worth understanding before you compare boards.
Trade-offs compared with plastic and end grain
No surface is perfect for every operation. Plastic boards are often lighter and may fit an operation’s dishwashing workflow, while edge-grain wood needs careful hand washing and drying. End grain differs in how its wood fibers meet the knife, and can be thicker or heavier. The table summarizes general considerations; local rules and the board’s actual construction still govern your choice.
| Surface | Practical consideration | Trade-off to plan for |
|---|---|---|
| Edge-grain maple | Firm wood surface for routine prep | Needs careful washing, drying, and conditioning |
| Plastic | Often light and easy to handle | Check scoring and whether the surface remains cleanable |
| End-grain wood | Different grain orientation at the cutting surface | Can add thickness and weight to a compact station |
For a truck, the best fit is often the surface that your team can clean and store consistently, not the one with the most appealing description. If you are choosing edge grain, inspect the board in person or ask for clear details about its construction and finish.
Signs of sound construction and food-safe finishes
Look for tight, even joints, a flat surface, and no visible cracks or loose strips. Ask what finish was used and whether it is suitable for food contact; do not assume that any oil or coating is appropriate. A smooth, intact surface is easier to clean than one with gaps or damage that can hold residue.
Which specs fit your daily workload?
Choose dimensions and features around the work you do most, while keeping the board manageable to lift and clean. A groove, added thickness, or feet can help in some setups, but each feature has a cost in weight, surface area, or cleaning effort. Prioritize function over a long list of options.
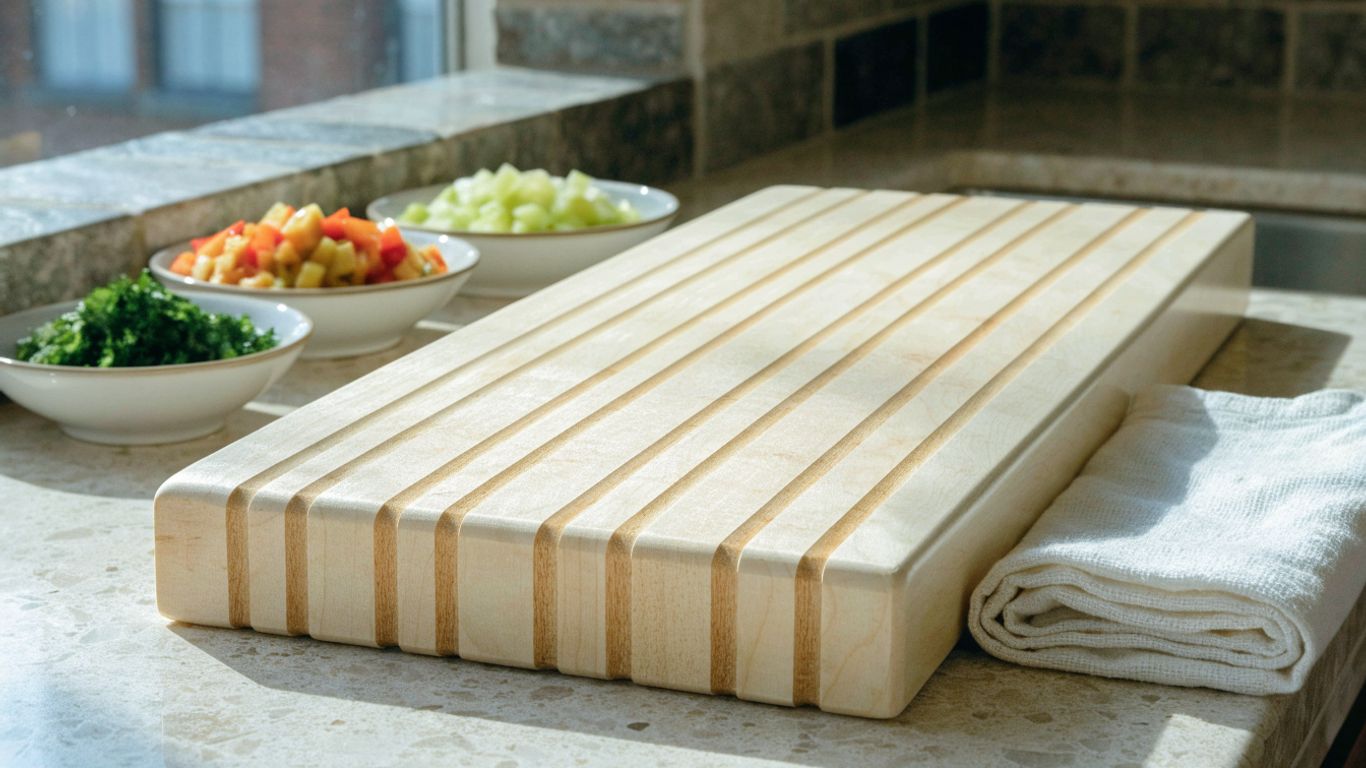
Select thickness without adding unnecessary weight
A thicker board may feel more substantial, but it also takes more effort to move and store. Consider how often you will lift it, where it will dry, and whether the extra height affects your counter workflow. If you need a reference for weighing heft against handling, this maple cutting board thickness guide lays out the practical questions to consider.
Decide whether a juice groove or smooth surface fits your prep
A groove can catch liquid from carving or juicy produce, but it reduces some of the flat working area and adds a channel to clean. For general chopping, a smooth surface is often simpler to wipe and use across the whole board. Match the feature to a repeated menu task rather than choosing it just in case.
Look for a non-slip setup that suits your counter
A stable board protects your workflow and helps you keep knife work controlled. Check whether the board sits securely on your counter and whether any feet or grip material are compatible with your cleaning routine. If the board needs a separate mat, confirm that you can keep both the board and mat clean and dry between uses.
Balance upfront cost with expected use
Compare construction, size, and care needs rather than price alone. A board that is too large to wash or dry properly may be poor value even if it costs less upfront. Likewise, a feature that goes unused adds little. Base the decision on how frequently the board will be used and whether the team can maintain it through service.
How do you build a cleaning and sanitation routine?
A wood board is only a sensible choice if your operation can clean and sanitize it as required. Follow the method approved by your health department and your written food-safety procedures; don’t improvise a chemical concentration or substitute a quick wipe for a required step. Make the routine practical enough to repeat between tasks.
Scrape and wash the board between tasks
Clear food debris promptly, then hand wash the surface with mild soap and warm water if that matches your approved procedure. Clean both sides and the edges, not just the visible cutting area. A consistent reset matters when the truck is busy, and it helps prevent residue from carrying over to the next prep job.
Sanitize using a method approved for your operation
Washing removes visible food and soil; sanitizing is a separate step where your operation requires it. Use only the method and product approved for your food-contact surfaces, following its directions and your local requirements. Do not guess at contact time or concentration, and do not move food onto the board until the required procedure is complete.
A video can demonstrate a general technique, but it cannot replace your inspector’s instructions or your operation’s approved procedure. Keep the written steps available where staff can check them during service.
Dry the board fully between service periods
After washing and sanitizing as directed, allow the board to dry completely before putting it away. Standing it upright or on edge can expose more surface area to air than leaving it flat on a counter. Don’t stack a damp board against another surface where moisture may stay trapped.
Use separate boards or procedures to prevent cross-contamination
Assign boards by food type when possible, and make the assignment obvious through labels, storage locations, or another method your team can maintain. When separate boards are not practical, follow the approved cleaning and sanitizing procedure between tasks. A clear system is more reliable than expecting people to remember an informal rule in the middle of a rush.
How do you maintain the board through service and storage?
Regular care helps keep a wood board in usable condition, but it does not replace inspection or cleaning. Hand wash it, dry it fully, and condition it when the surface begins to look dry. Pay attention to damage that could make the board difficult to clean or sanitize.
Apply food-safe conditioner when the wood looks dry
When the surface looks dry or faded, apply food-grade mineral oil or a conditioner intended for cutting boards, following its directions. Let the board absorb the treatment, then wipe away excess before returning it to use. Avoid olive or vegetable oil, which are not suitable substitutes for board conditioning.
Avoid soaking, dishwashers, and prolonged heat
Never leave a wood board submerged or put it through a dishwasher. Prolonged water exposure and heat can stress the wood and its joints. Wash by hand, then dry promptly; a little routine care is less trouble than trying to rescue a board that has been left wet for hours.
Inspect for deep cuts, cracks, or loose joints
Check the surface regularly for damage that traps food or prevents effective cleaning. A few ordinary knife marks are not the same as a deep split or loose joint, but damage that cannot be cleaned and sanitized calls for action. Follow your local requirements for resurfacing or discarding the board rather than making the decision by appearance alone.
Store the board where air can circulate while it dries
Once clean, position the board upright or on edge in a clean area with space around it. Avoid sealing it in a closed cabinet while damp or resting it flat against a wet wall. Dry storage is easier to maintain when the board has a designated place that does not block food, equipment, or the truck’s working path.
Choosing an edge-grain maple board for a food truck
A good edge-grain maple board for a food truck is one your local rules allow and your crew can use, clean, dry, and store without disrupting service. Confirm the code requirements first, measure the station carefully, and choose manageable dimensions and features. Consistent sanitation and routine inspection matter just as much as the wood itself.
Best for
- Edge-grain maple: routine prep on a firm wood surface, if you can wash, dry, and condition it reliably.
- Plastic: light, easy handling, as long as you check it for deep scoring.
- End-grain wood: trucks with room for the extra thickness and weight.
- Raw and ready-to-eat prep: separate boards or procedures, as your local rules require.
Frequently Asked Questions
Are wood cutting boards allowed in food trucks?
They may be allowed under some versions of the food code, but requirements vary by jurisdiction and operation. Confirm the adopted rules with your local health department before using one.
Is hard maple suitable for a cutting board?
Hard maple is a close-grained hardwood commonly used for cutting boards. The board still needs sound construction, an appropriate finish, and care that keeps it cleanable.
What size cutting board works in a food truck?
Measure the usable counter, storage opening, and route between prep and washing areas. Choose a surface large enough for your routine tasks without crowding equipment or blocking movement.
Should a cutting board have a juice groove?
A groove can contain liquid during carving or other juicy prep, but it takes away some flat work area and needs cleaning. A smooth board may be more practical for general chopping.
How should you clean a wood cutting board in a commercial kitchen?
Follow the washing and sanitizing procedure approved for your operation and local code. Hand wash and dry the board fully, and do not rely on a quick wipe when a full reset is required.
How often should you condition a maple board?
Condition it when the wood looks dry, using food-grade mineral oil or a cutting-board conditioner according to its directions. Keep conditioner separate from the cleaning and sanitation steps.
When should a wood cutting board be replaced?
Follow local requirements, and remove a board from use if deep cuts, cracks, or loose joints prevent effective cleaning and sanitizing. Ask your inspector whether resurfacing is permitted for your situation.
What should you do next?
- Ask your local health department or inspector whether wood boards are allowed, and for which tasks.
- Measure your counter space and storage clearance.
- Plan a non-slip setup that keeps the board steady while the truck is parked and working.
- Write down a scrape, wash, sanitize, and dry routine for service. The steps in the two-minute board reset are a useful starting point.
- Learn what normal wear looks like in how edge-grain maple ages over the years.
SEE AN EXAMPLE